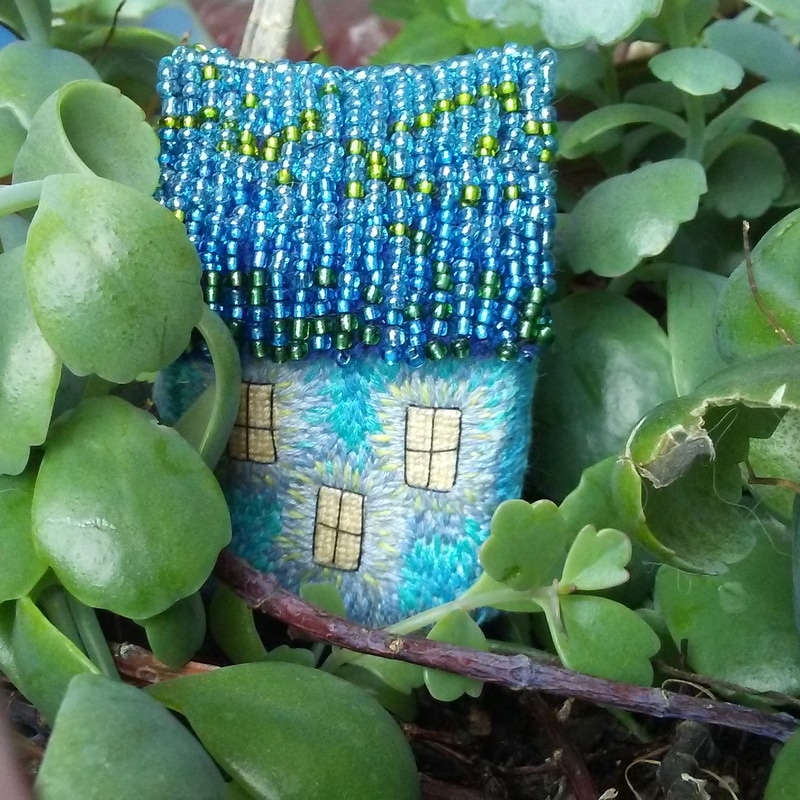
House 
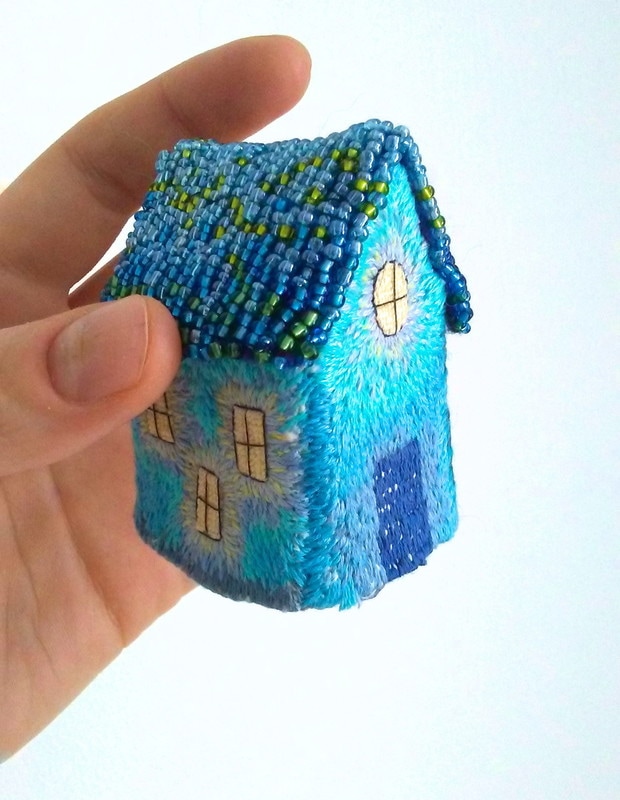
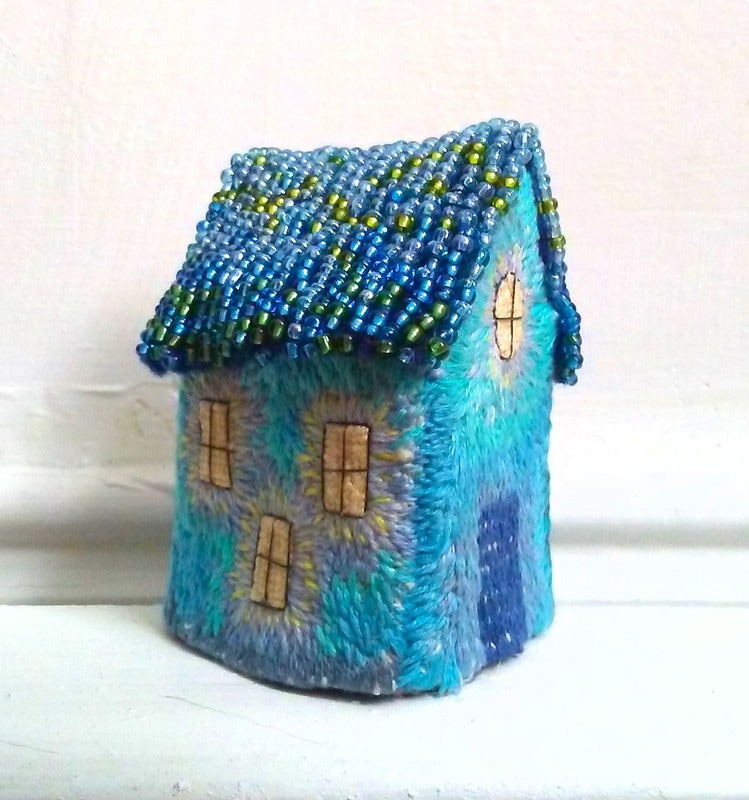
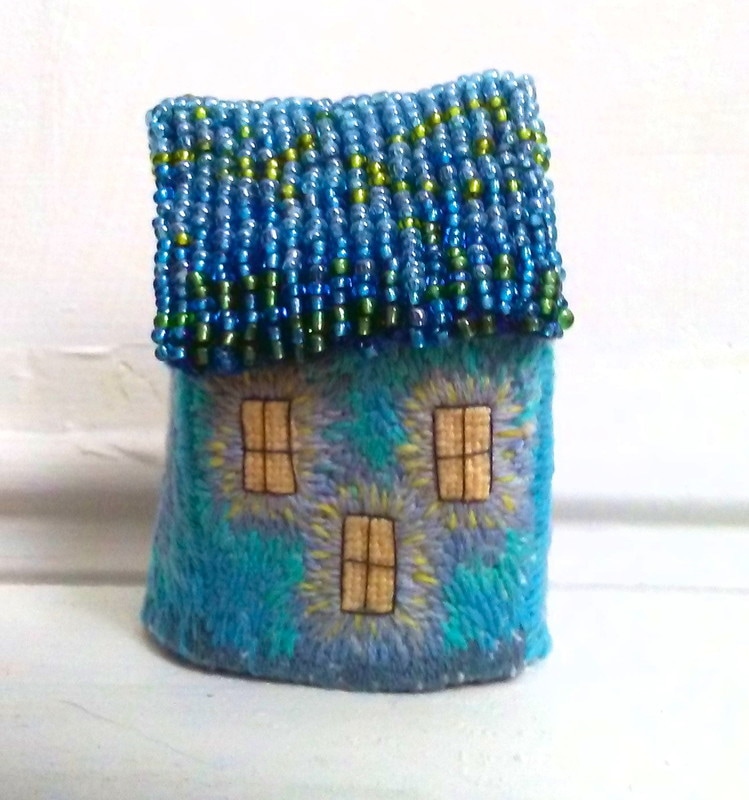
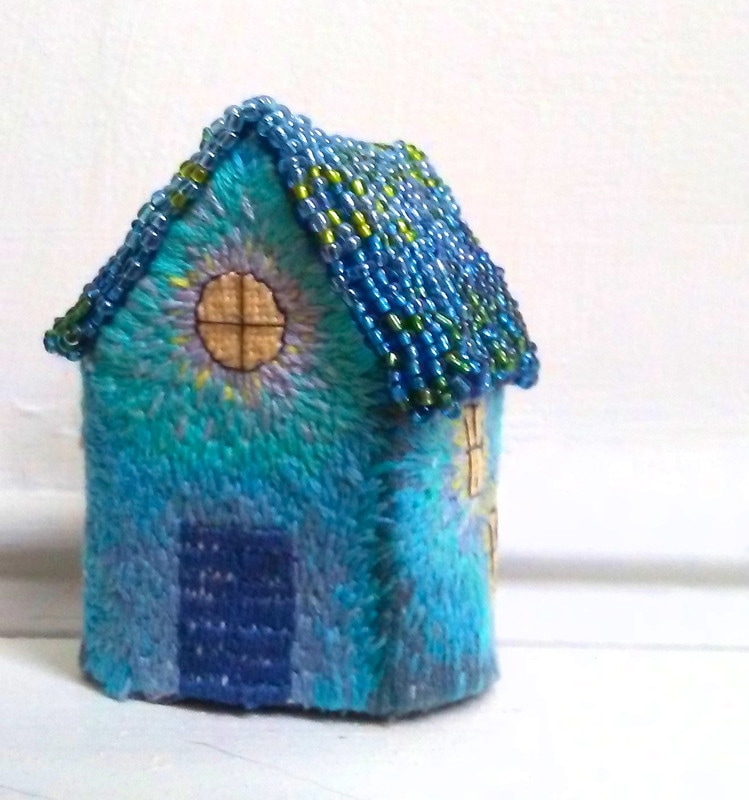
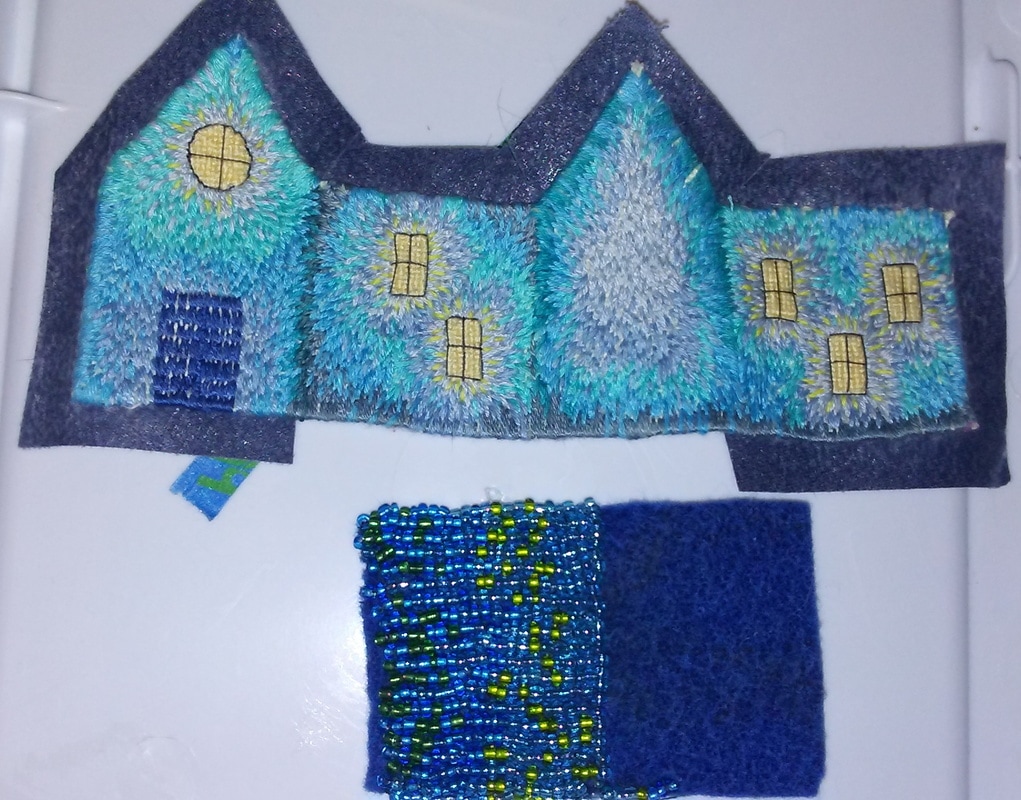
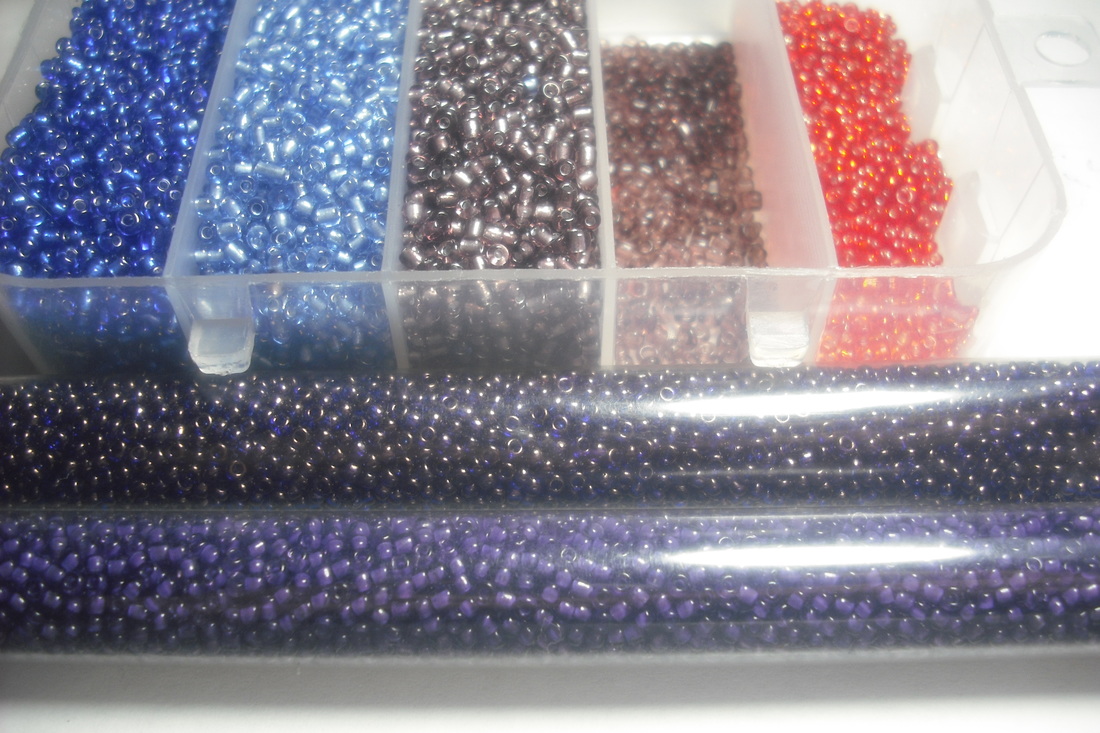
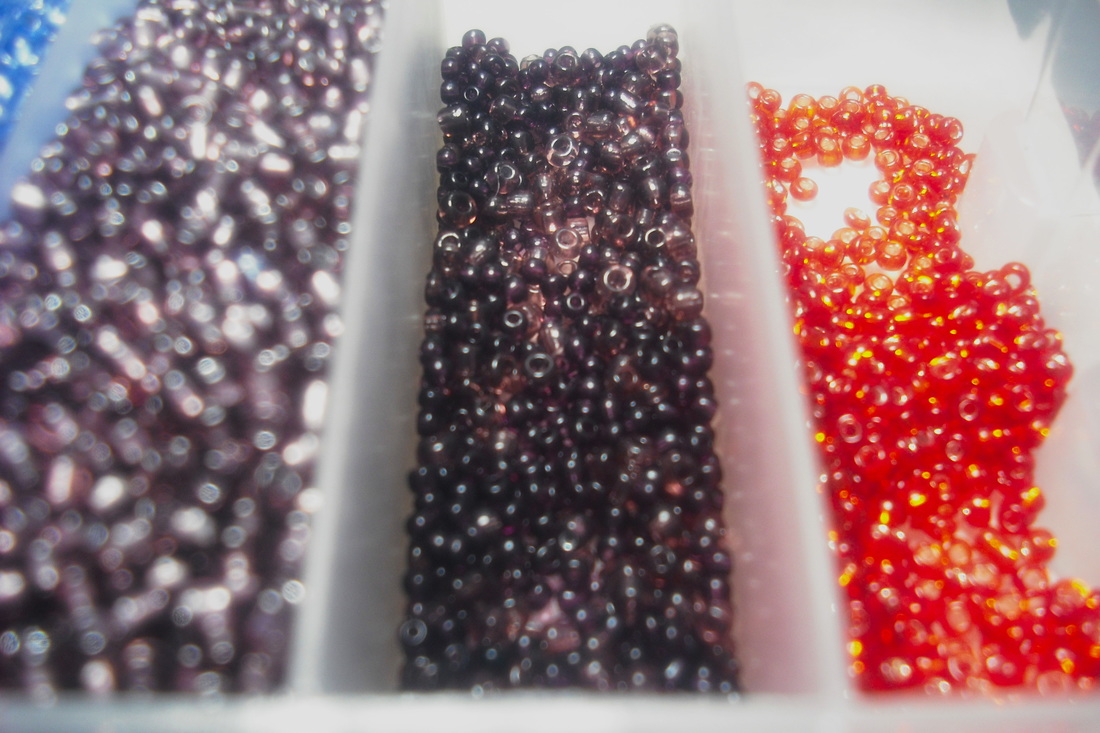
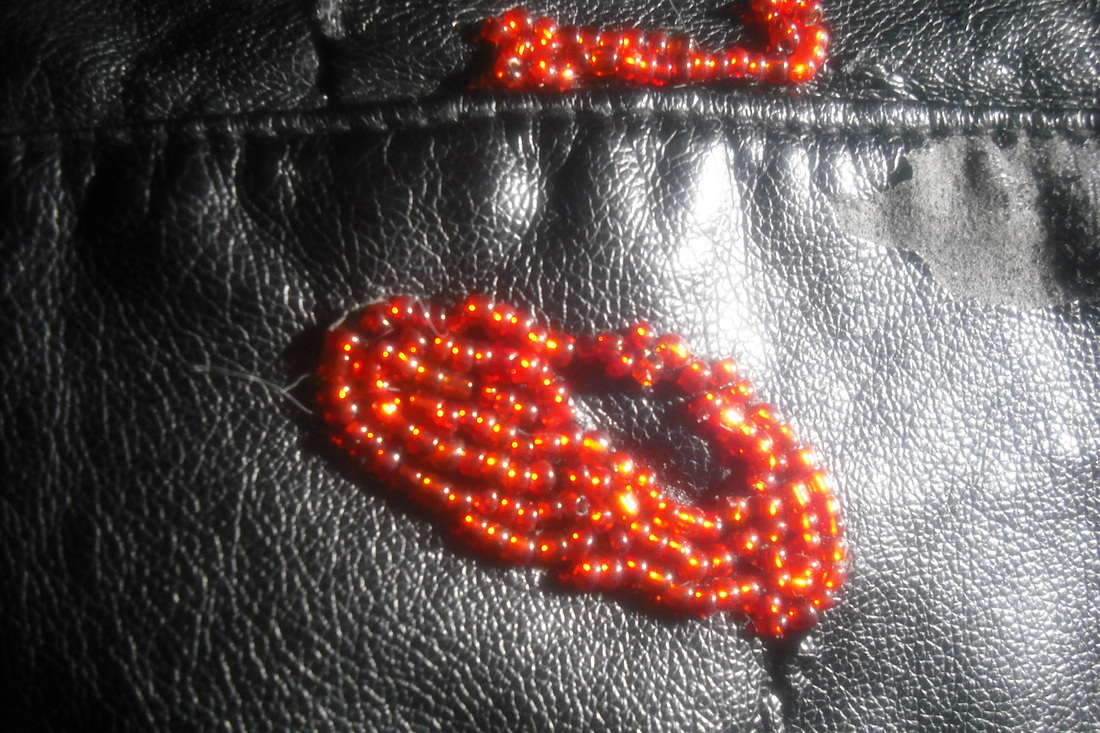
Tiny home is stitched using six-strand embroidery floss separated into two-strand sections. Roof is made from a dark blue wool felt and four colors of seed beads.
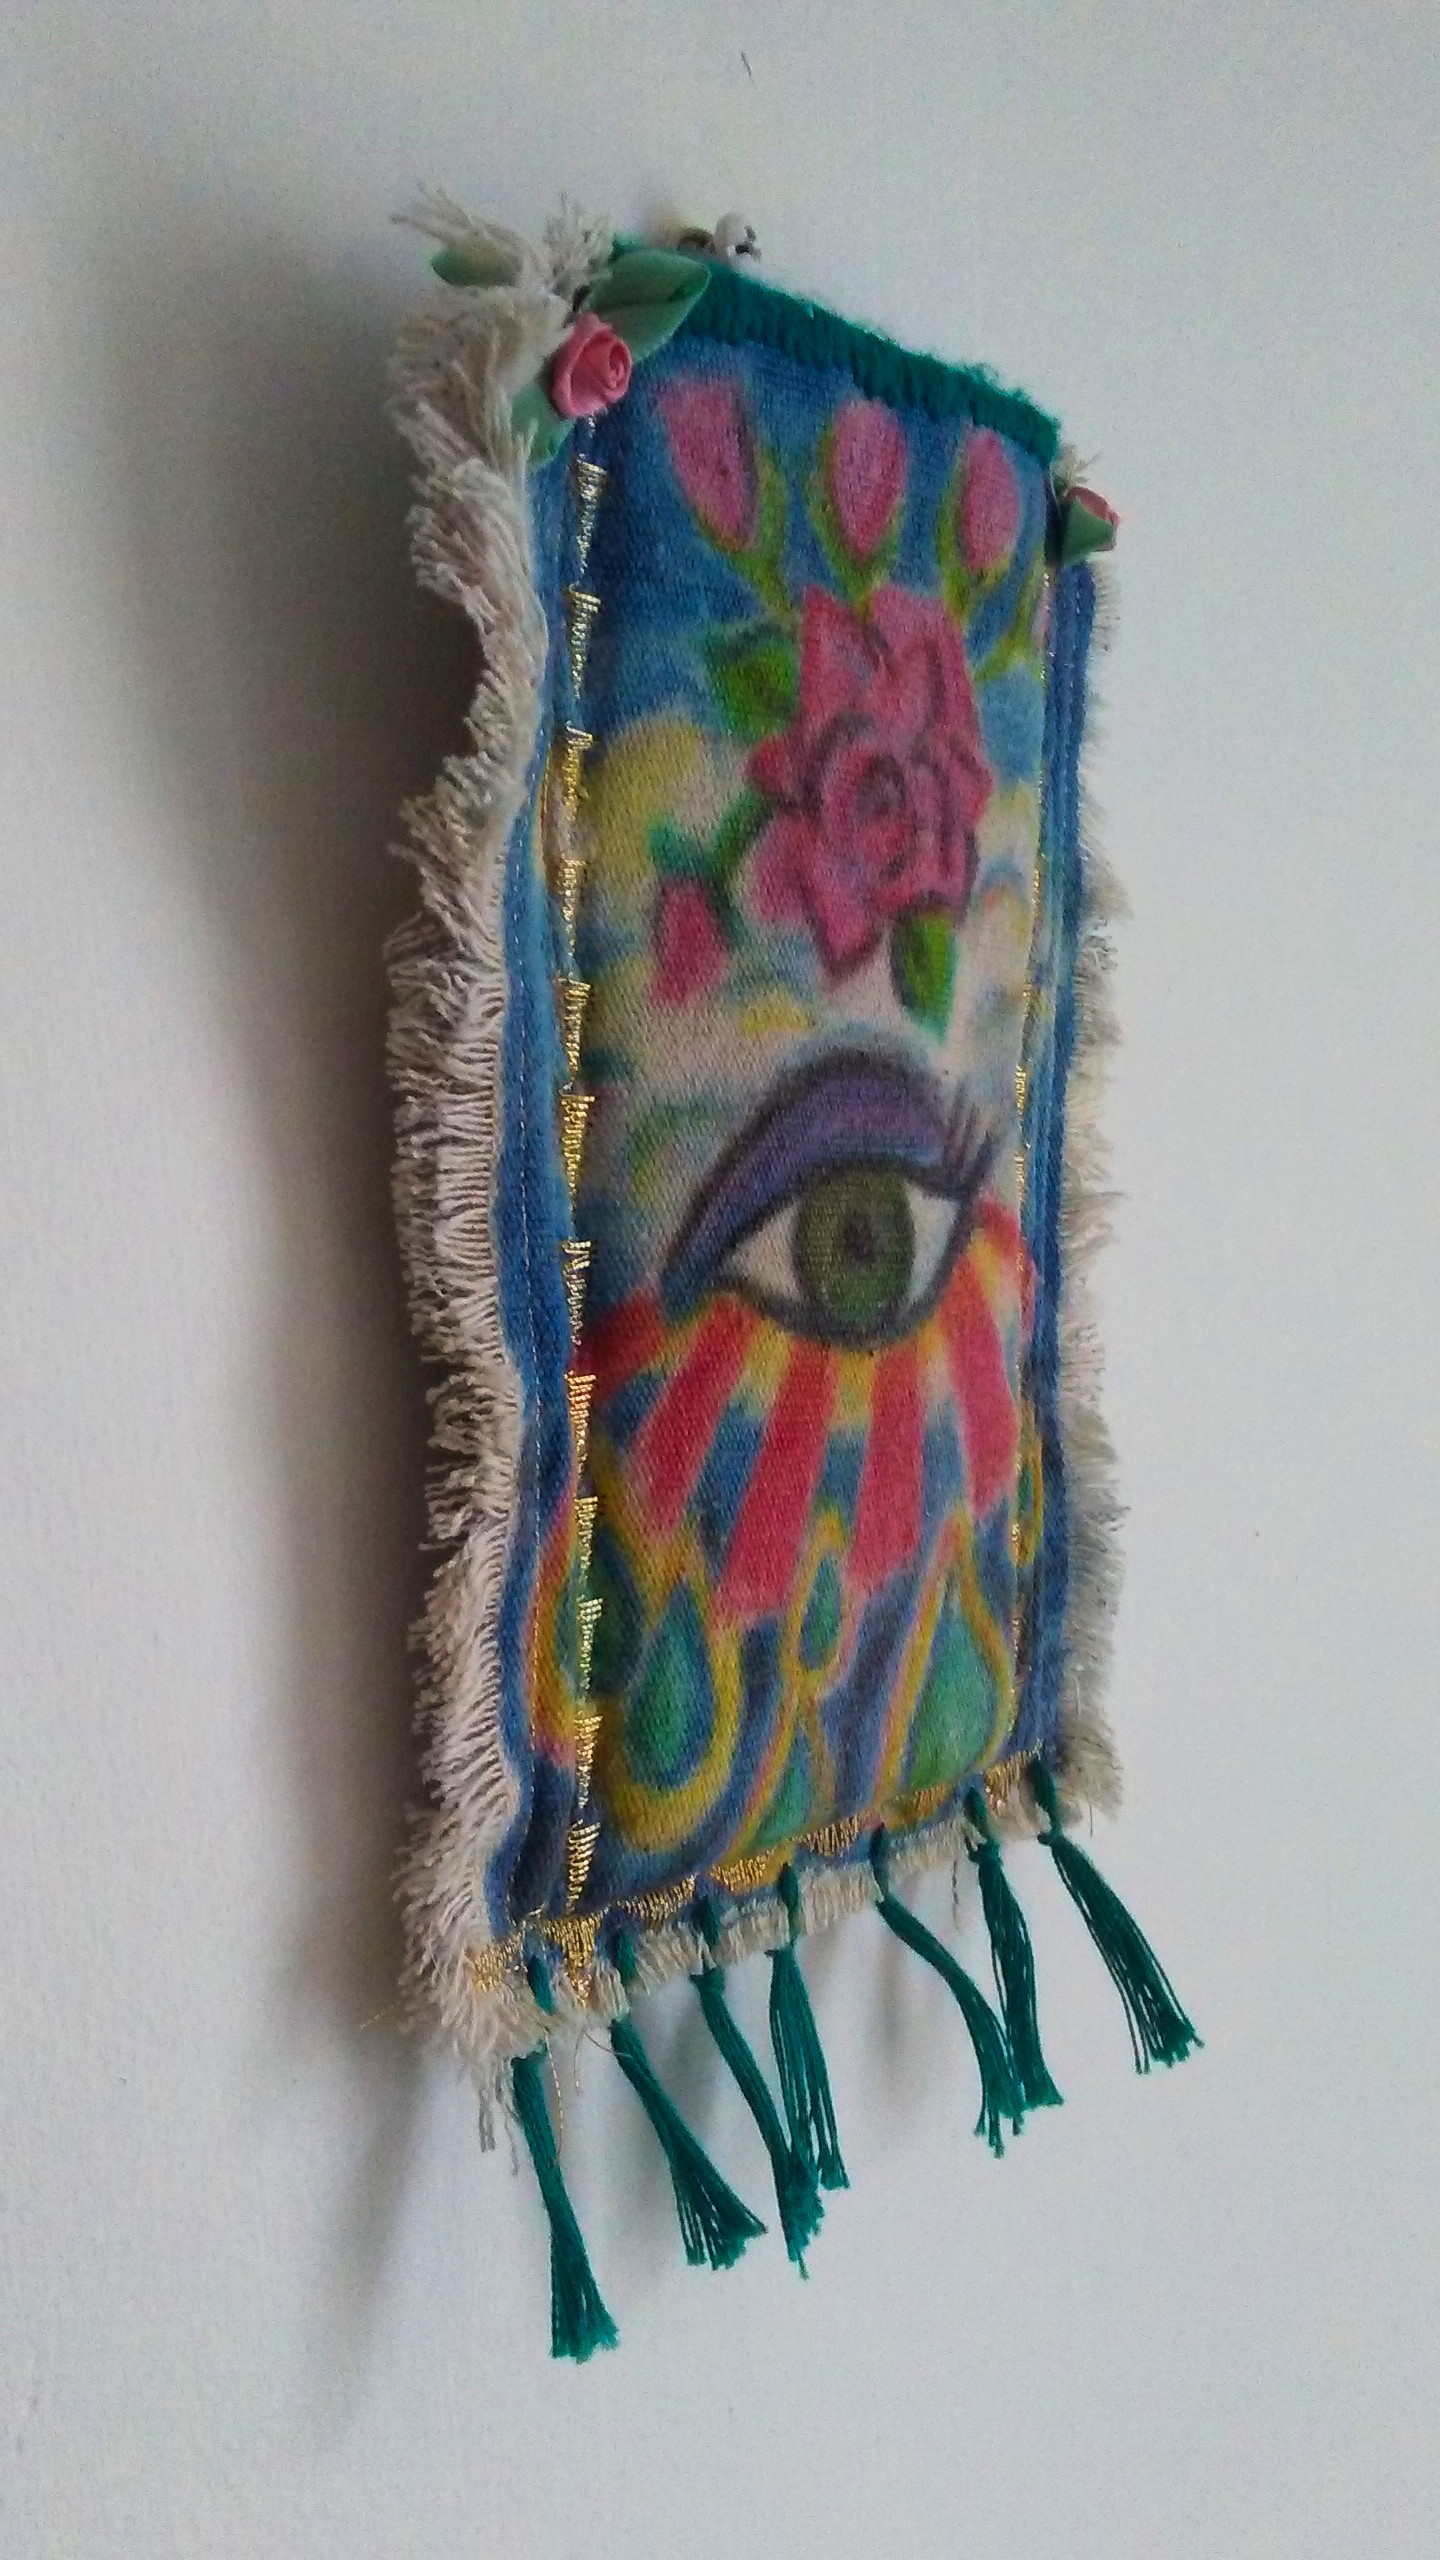
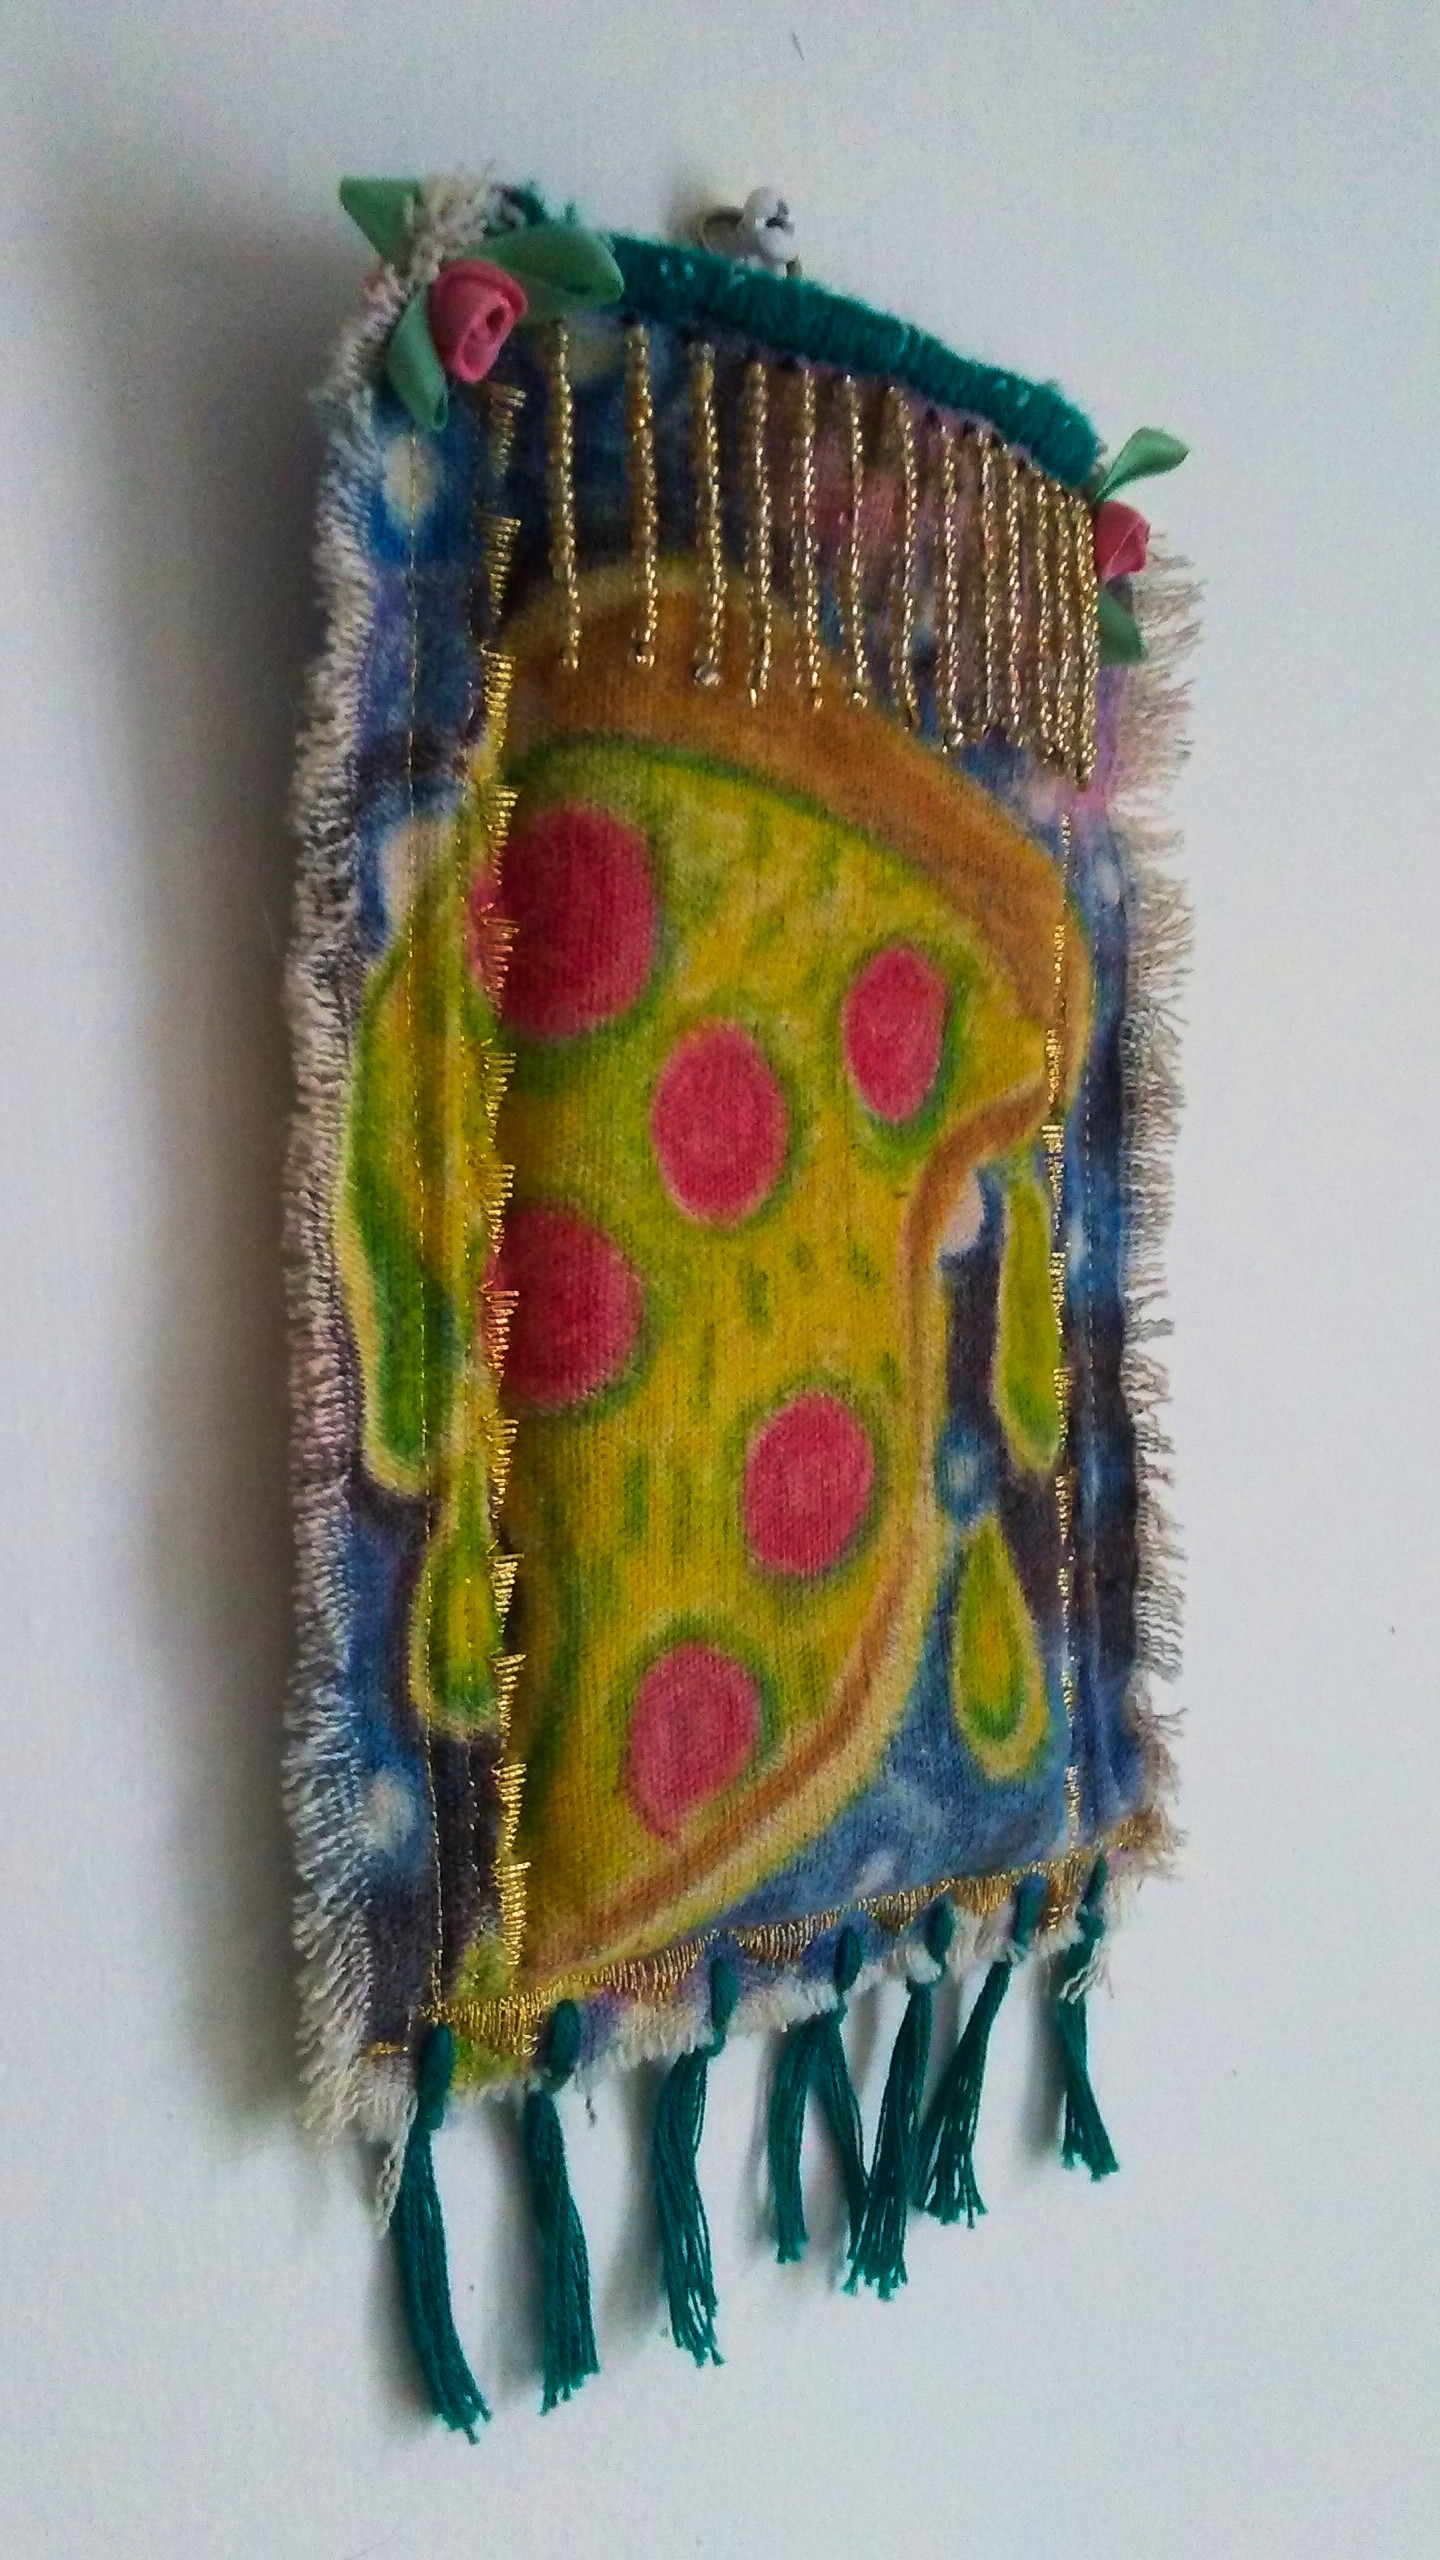
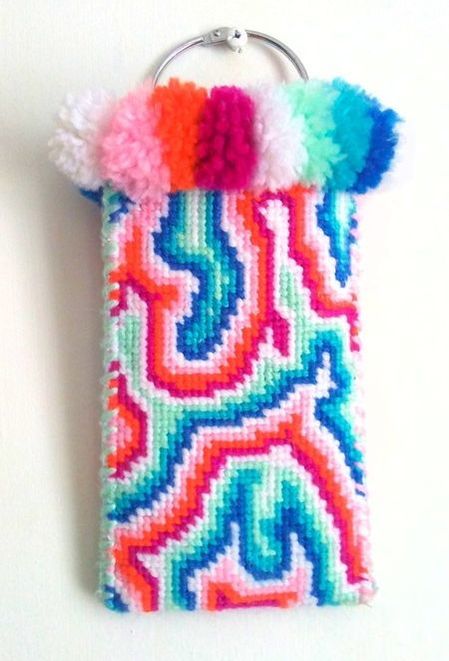
 Cell Phone Sleeve 
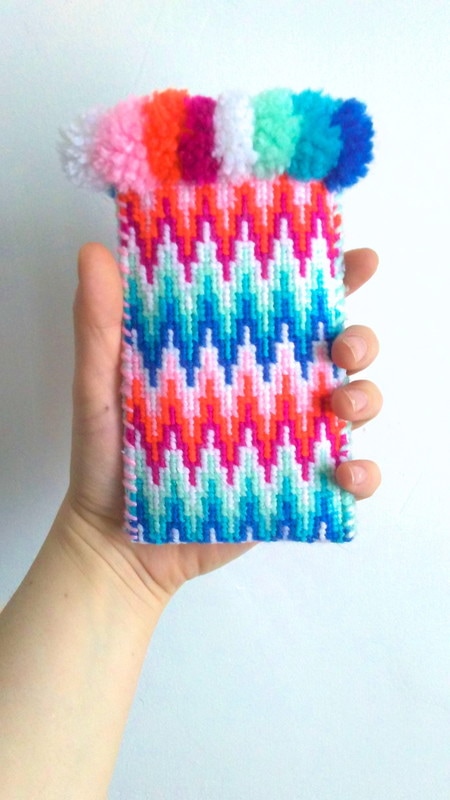
Inexpensive synthetic yarn worked into the stiff canvas I purchased from a thrift store. One half is a simple bargello pattern and the other side a free-form geode style design with the same gradient. Hand wound tiny pom poms sewn to the top serve as a fluffy dirt blocker and closure. Lining is soft, kitteny fleece that happens to function as a great screen cleaner. Hand-sewn throughout.
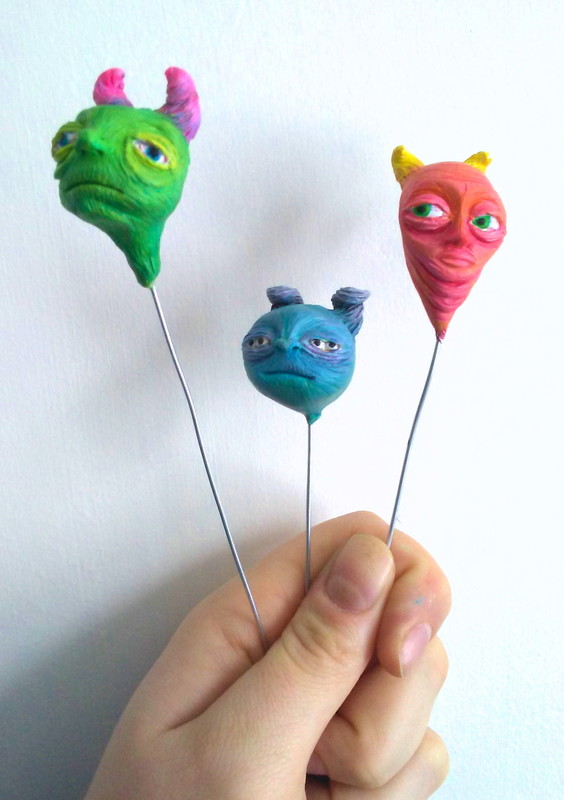
 Creatures 
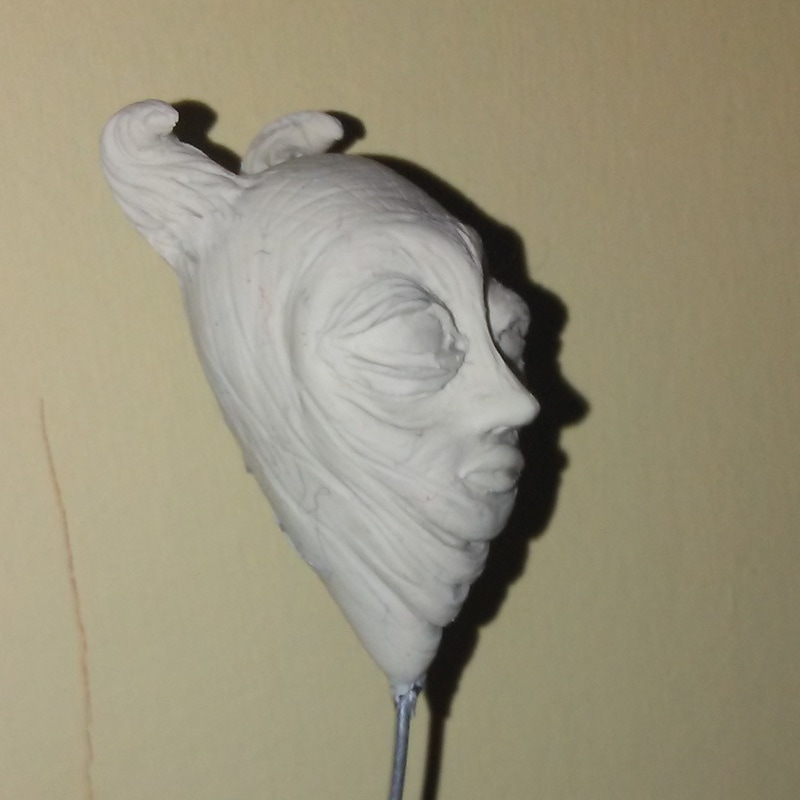
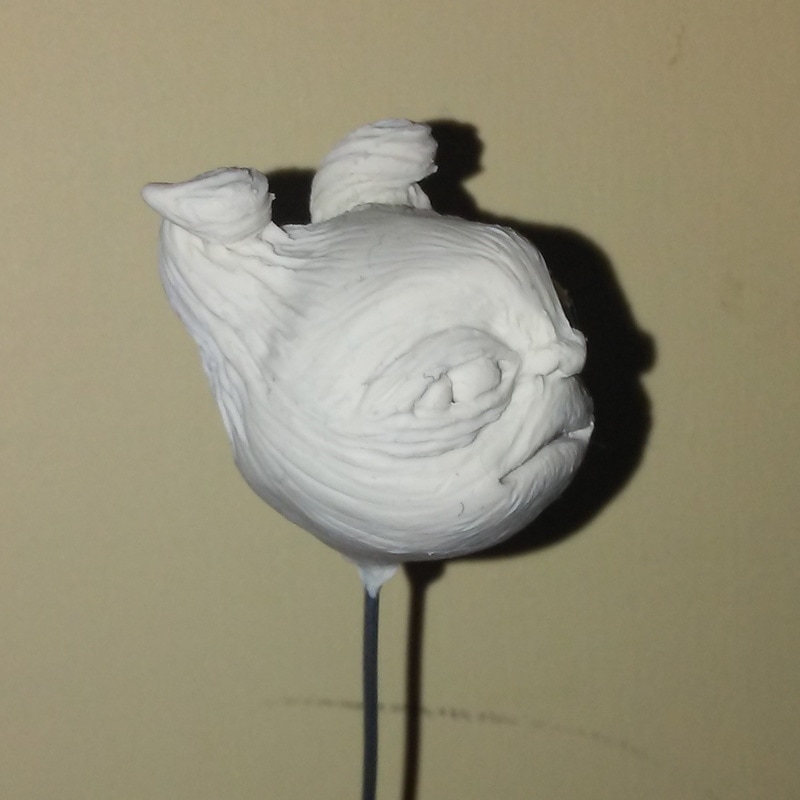
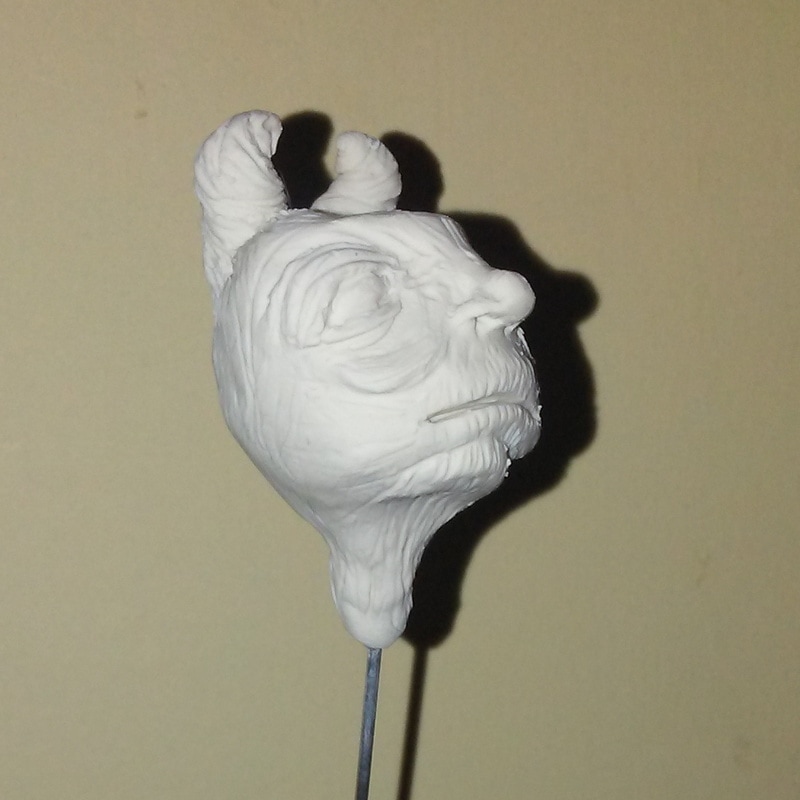
Aluminum foil ball formed on the end of thick aluminum wire serves as a base for white sculpey clay. The only tools used were a toothpick and metal nail file. Once baked and cooled, painted with acrylic paint. I can thank my Dark Crystal / Labyrith / Mirrormask movie marathon for inspiring these little wrinkly faces. Not sure what I'm going to do for bodies yet, but they will be worm-like. Some useful advice from my mom was to make a nub at the bottom of doll heads to aid attaching to a body. Unfortunately her helpful sketch came to me a little late.
Couldn't think of a fun pun.
Glass seed beads sewn with polyester thread onto wool felt. Beads are couched over most of the eye and the lashes are sewn using a method for beaded fringe. To make sure the fringe on the top lashes stands upright the threads were pulled very taught while sewing; the bottom lashes were intentionally left loose for a subtle wiggle effect. I could provide you with the historical precedence and significance of eyes in art, but why don't you do the research yourself. What I love about eyes-- regardless of your artistic skill-- is how they are an approachable and universal subject yet can still offer different meaning or significance for every individual. I peeked through some of my little sketches to show a taste of my own interest in eyes (and mouths, but let's save that analysis for another day). I want to plaster everything with eyes to fill my life with the impression that someone is always watching. Everyone likes that feeling, right?
Beading Faux leather part 3/3At the conclusion of my Wear It Out post I had been unsure whether I would be able to find matching purple beads to continue my work, or be forced to remove the sleeves of my jacket. I also had to purchase more red seed beads, 80 grams worth, but thankfully they were easy to find. The purple color most closely matching what I needed finally came from a friend's bead collection. Couching beads On my sleeve cuffs I felt it would be a bit uncomfortable to have beaded fringe so I "couched" the beads, a method for sewing them flat. There are a few different ways-- attach the beads down one at a time, use two needles (one for the beads and a following needle for securing them) but the diagram below shows the method I prefer. I hadn't yet mentioned in my previous posts the effort I have taken to avoid stitching into the lining of this jacket. It's in excellent condition and any wayward stitches would sully the appearance and potentially make my garment uncomfortable. The top of the shoulders and the cuffs are the only areas I was unable to keep the lining free, otherwise I was regularly checking the interior of the jacket to make sure the lining was not getting caught in my sewing. Project Breakdown Polyester thread: $1 Red seed beads: $3 a pack, I bought two packs but would have needed three if I had started from scratch Purple beads: $6 if I had purchased them myself TOTAL: $16 if I was starting without any materials, but in reality I spent closer to $9, and I already had beading needles. The jacket or pleather garment, regardless of who is doing this project, hopefully doesn't cost you any money if it is this damaged. The biggest investment required to make this has been time. I didn't keep track of my hours, but I am going to estimate a solid thirty to forty. Some may wonder why I would spend so much time on a old damaged garment but my reasons are simple: I love this jacket, I love learning a new craft (this was my first major beading project), recycling garments is important to me, and lastly, I don't feel my efforts are wasted because when this jacket is too damaged to continue repairs, I can cut out all of my fringe areas and use them on something else. I estimate this work contains 130g red seed beads and 70g purple. A total of 200g is .44 pounds! The extra weight is noticeable when compared to the jacket's original weight but isn't uncomfortable at all. This project has been my subtle (or not so subtle) homage to all Klingons which is why it's been categorized in Star Trek work.
Reviving a faux leather jacket My experience with faux leather is that sooner or later it is going to start peeling. It is hard to determine how long an item will last before falling apart, and in my (limited) experience the initial cost of the item isn't necessarily indicative of quality. I've had a Betsey Johnson bag start peeling apart horrendously after a few weeks of use, yet a cheap little jacket from a fast fashion chain lasted through multiple washings and daily wear for a year. Faux leather is simple enough to explain: polyurethane (PU) plastic is bonded to a woven fabric base and textured to appear like actual animal hide. It can be matte or shiny, and is usually water resistant if not waterproof. I believe the PU coating begins to peel up from the fabric because as the coating and backing fabric stretch at disparate rates they begin to separate. Unfortunately my experiments with gluing down any peeling areas had been less than successful. I realized that if I can't mask the flaws, why not enhance them in a beautiful way? The Concept
The tears in my jacket look like wounds; it didn't take long for the image of blood pouring out of my garment to take hold. And how better to create an artistic representation of blood than cascading red seed beads... Sewing WITH Beads Beading needles Polyester Thread (this is important, don't use cotton thread as it may snap.) Beads --The green spots are over the beads I am using, I thought I would use some from the colors on the far right but in my test strands the effect was more muddled than I liked. (Bead Scoop is pictured but I haven't needed it) Before starting any sewing you must make sure the backing fabric is strong enough to withstand the stabbing of a needle and the tugging of knots and bead strands. I used a large needle to pierce through the fabric and tug the material's weave-- since it didn't rip I decided it was good enough. In this jacket the backing fabric is 61% Viscose, 20% Polyester and 19% Cotton. Above: Don't make a knot in the end of the thread and expect it to be effective. Instead, thread your needle into the fabric, leaving a long tail on the obverse side. Insert the needle into the fabric again and up through the front-- before the loop closes guide your needle through the loop and pull taught. I do this two or three times before the beading and after. Above: After securing your knot add as many beads as you want. When your length is reached take your needle and bypass the bottom bead then thread it up through the entire strand of beads. At the top I make two or three knots to fully secure the beads and start the process again. Each length of beads is individually secured now, so if I were to lose a single strand it won't cause a cascade of all the beads. The best test is to make three or four of these bead strings next to each other, secure your knots, and then give your beads some strong pulls. Worst case scenario you end up with a few beads on the floor and you re-do it. When I am almost out of thread and have secured my knots I push my needle through the beads of my last strand and clip the thread at the bottom of the beads. Knots can work loose if you trim the thread right at the base, so you want to leave a tail, and this is a way to disguise it. By my estimate I have beaded around 60% of the damaged areas and I love its effect. The beads are dramatic but I don't feel like my work is clashing with the jacket. Though I tried to avoid using glue, I actually have been securing the areas around each beaded portion. I don't love how glue has affected the appearance of the PU but without it my material was continuing to peel. At this point my conundrum is whether or not to remove the sleeves-- I really don't want to, but I am running low on purple beads and have not found a match in local stores.
|
Categories
All
Archives
April 2018
|