"Hello paper, meet computer"
Those of us who make art the old fashioned way are definitely not limited by our medium when digitizing the physical work is so easy. Hand drawn--collaged--painted-- it all can be transformed and improved upon with a scanner and free programs like Gimp and Inkscape. Airbrushing isn't just for butts, why not fix up our art?
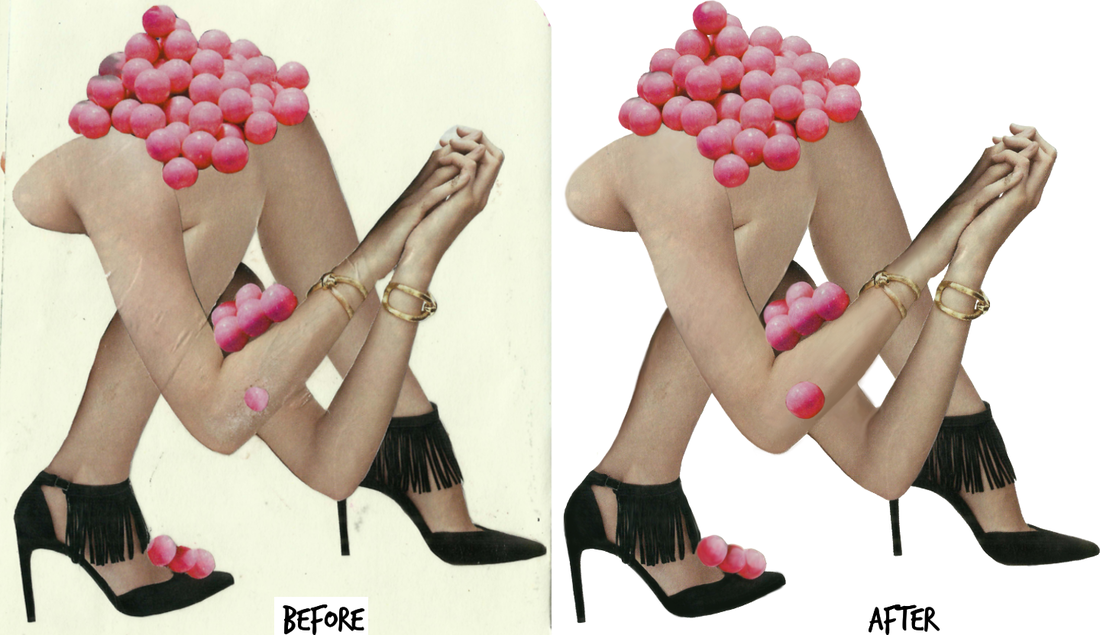
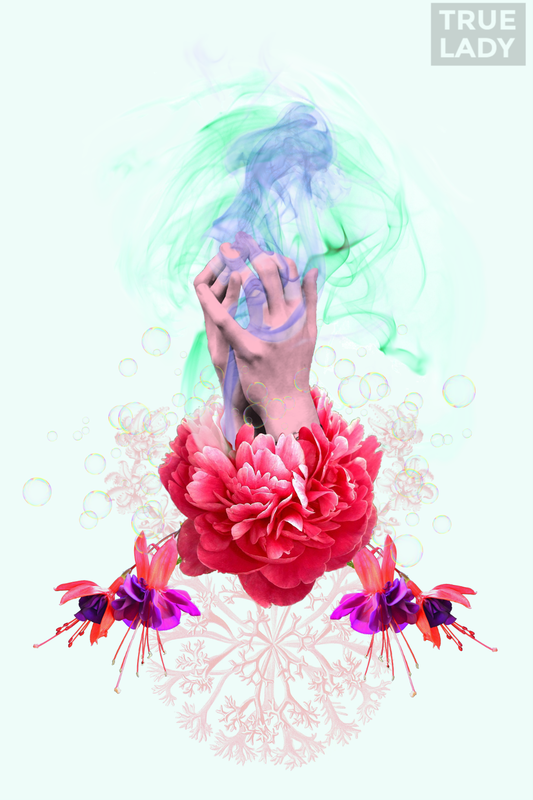
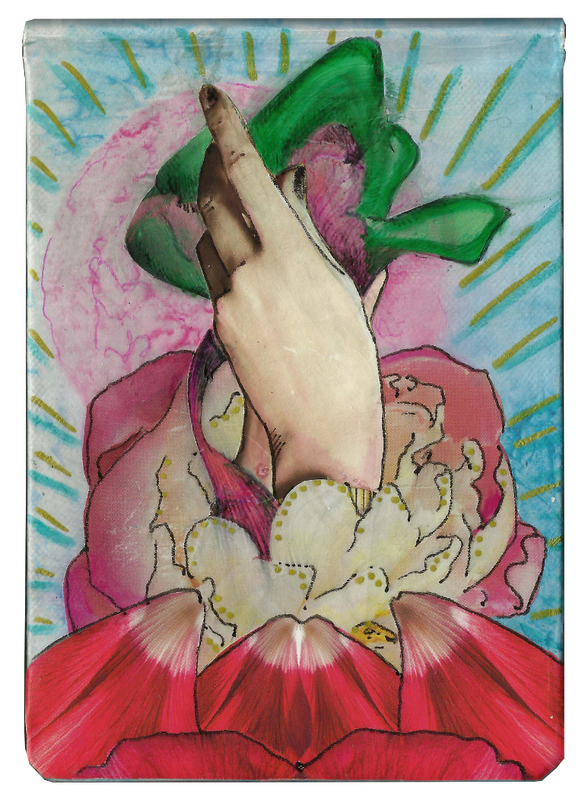
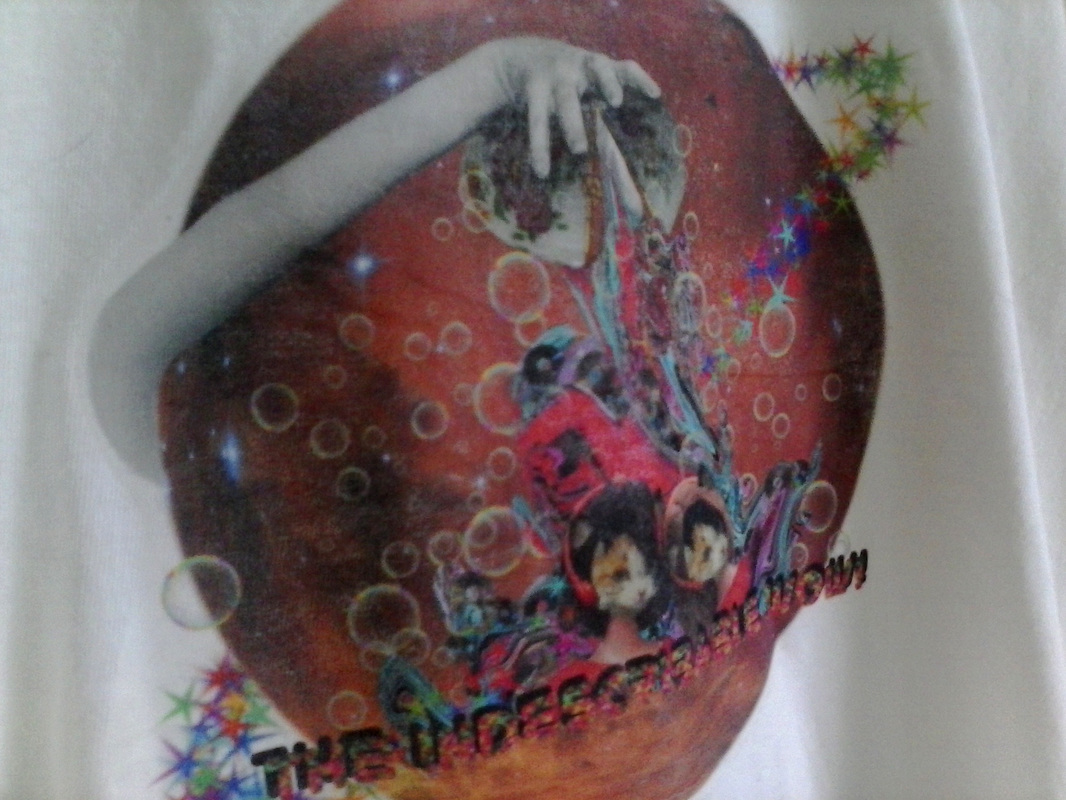
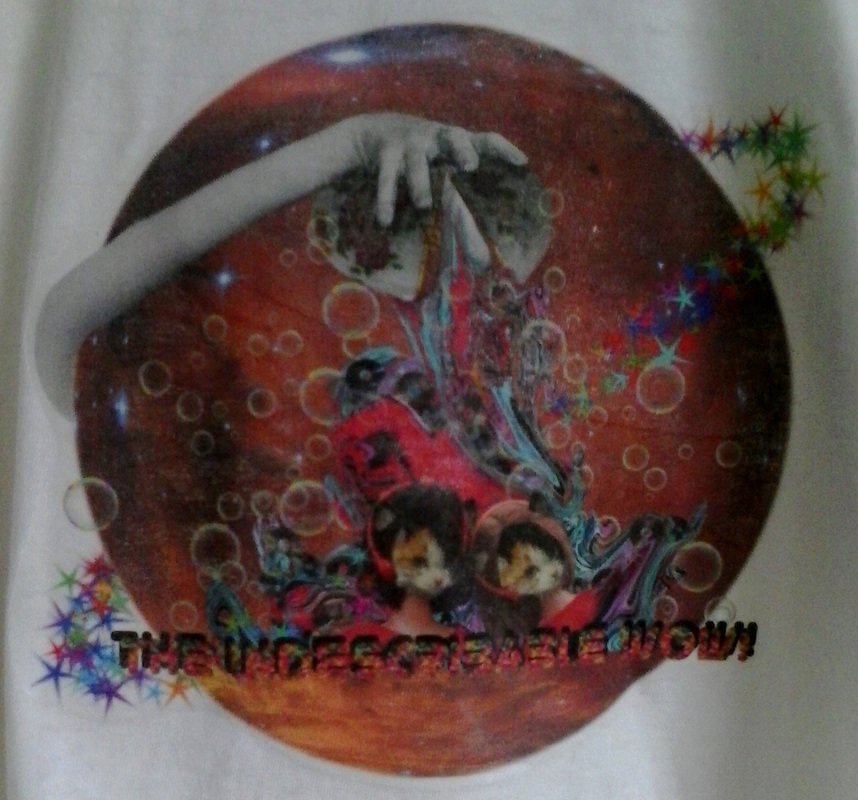
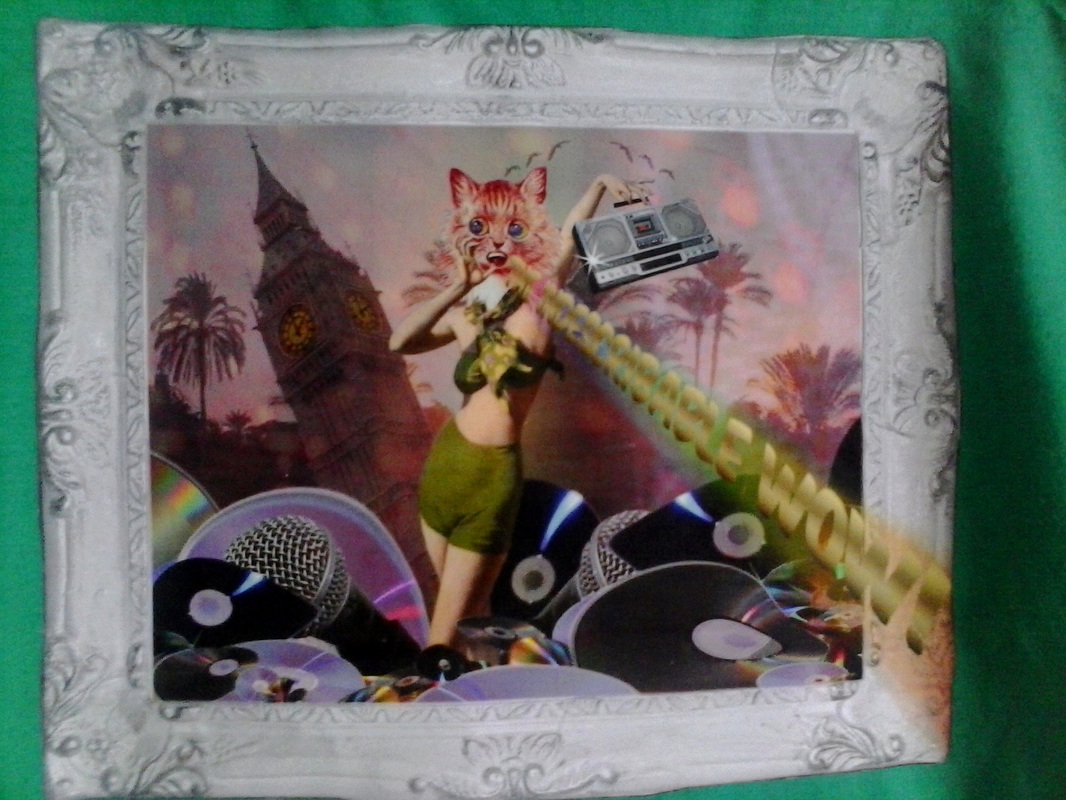
How many changes can you find???
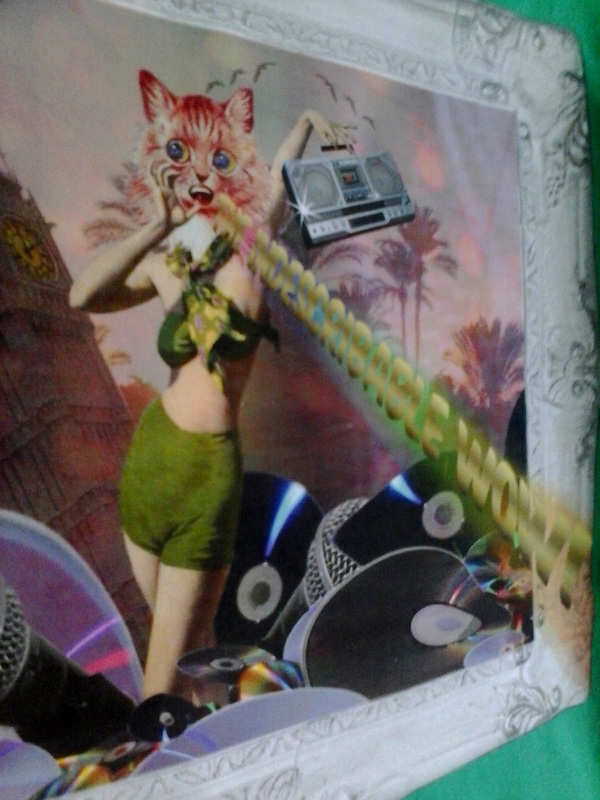
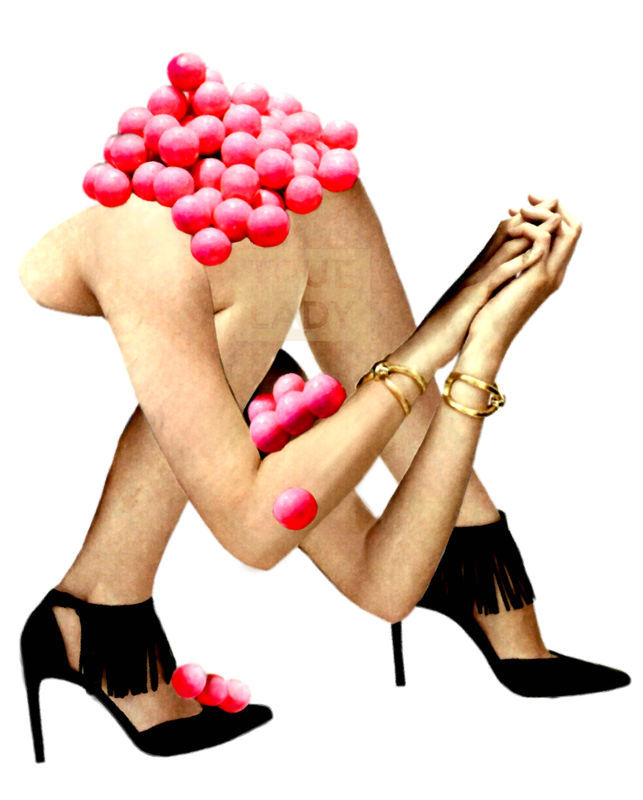
Compared to the dense collages I usually make, the simplicity of this piece was a refreshing change of pace. It contains only two images: a pile of gumballs from one magazine, and a model from another. I am perfectly happy with the paper version, but the wrinkles are annoying, the cut edges are obvious, and I accidentally rubbed off some of the print on her arm. Luckily the solution is (relatively) easy!
Scan your piece I usually scan once at 1200 dpi, and another at 600 or 300. Though I rarely work from the super hi-res version, I like knowing I have it. (My scanner is not fancy; over four years ago I purchased a cheap all-in-one HP printer/scanner/copier from a big box store and the scanner part still does the job.)
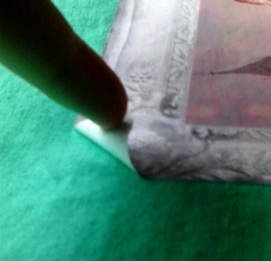
Clean up the image For me this means cutting away any background and making said background transparent. (When you save your piece, it has to be a .png or the background just becomes white again.)
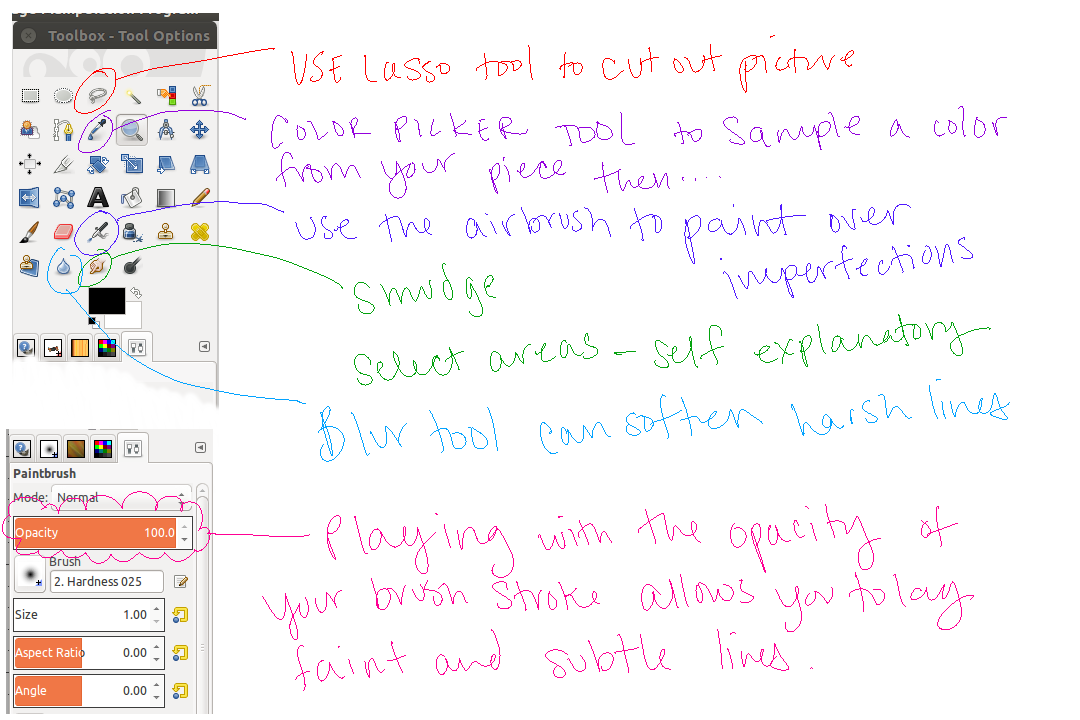
Airbrush, smudge, cut, etc. I feel the best way to learn photo editing is to experiment, click all of the buttons, search forums for answers to your questions, then experiment some more. There is no singular right or wrong way to do this!
Save As-- never overwrite your original. This is what I do: Original scanned doc is opened in Gimp, automatically I SAVE AS "(doc name) Cleaned Up", or something along those lines. The original stays pristine so you always have it to go back to. I mess things up all the time, or don't like a certain effect, or want to change just a small thing later on... you can't do these things if you don't have your original reference piece.
Export In Gimp, when you are done, you have to Export As, then save your finished whatever as a jpeg or png (there are other file extensions too).
Scan your piece I usually scan once at 1200 dpi, and another at 600 or 300. Though I rarely work from the super hi-res version, I like knowing I have it. (My scanner is not fancy; over four years ago I purchased a cheap all-in-one HP printer/scanner/copier from a big box store and the scanner part still does the job.)
Clean up the image For me this means cutting away any background and making said background transparent. (When you save your piece, it has to be a .png or the background just becomes white again.)
Airbrush, smudge, cut, etc. I feel the best way to learn photo editing is to experiment, click all of the buttons, search forums for answers to your questions, then experiment some more. There is no singular right or wrong way to do this!
Save As-- never overwrite your original. This is what I do: Original scanned doc is opened in Gimp, automatically I SAVE AS "(doc name) Cleaned Up", or something along those lines. The original stays pristine so you always have it to go back to. I mess things up all the time, or don't like a certain effect, or want to change just a small thing later on... you can't do these things if you don't have your original reference piece.
Export In Gimp, when you are done, you have to Export As, then save your finished whatever as a jpeg or png (there are other file extensions too).
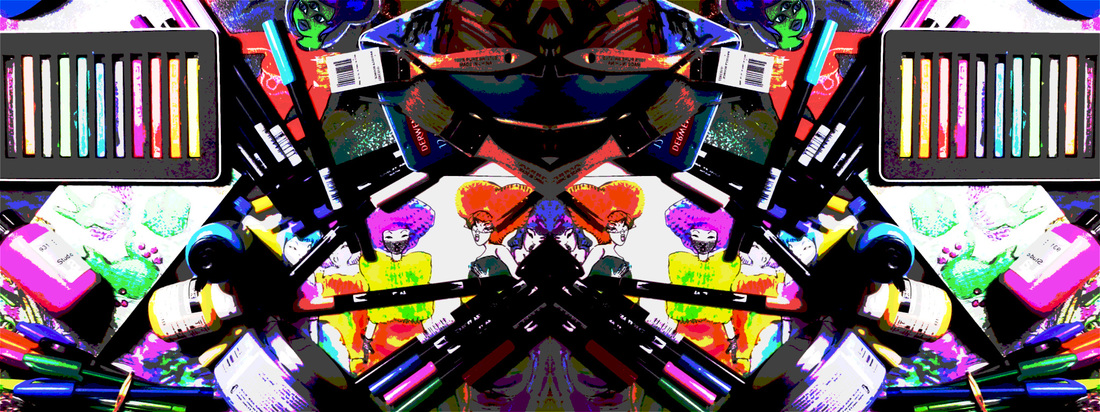
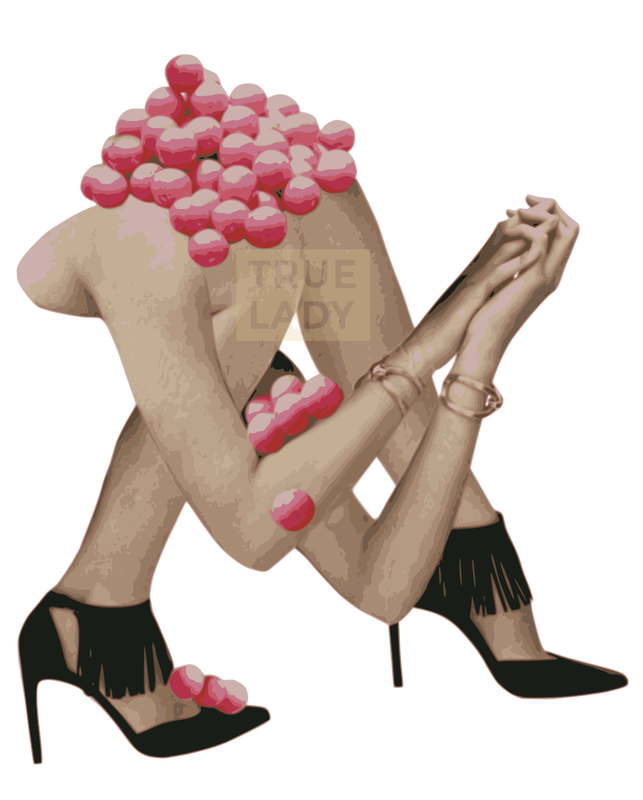
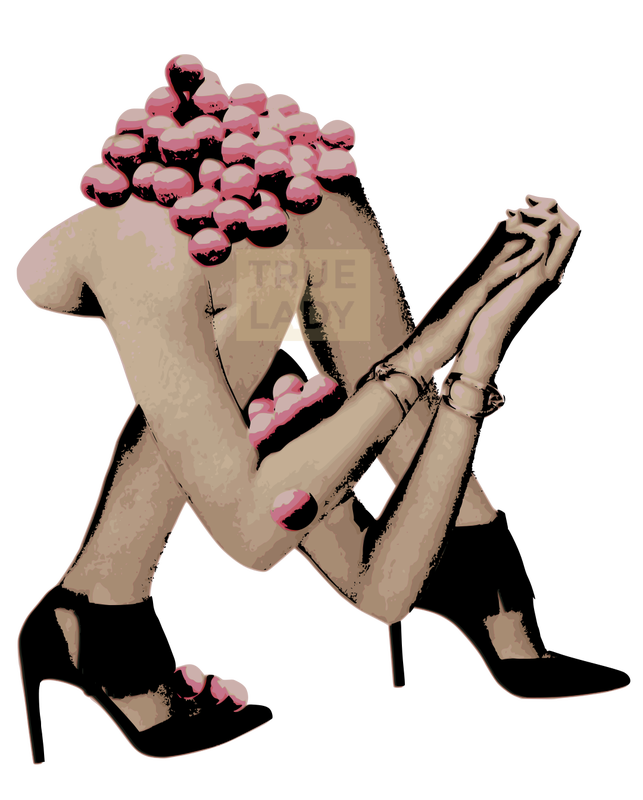
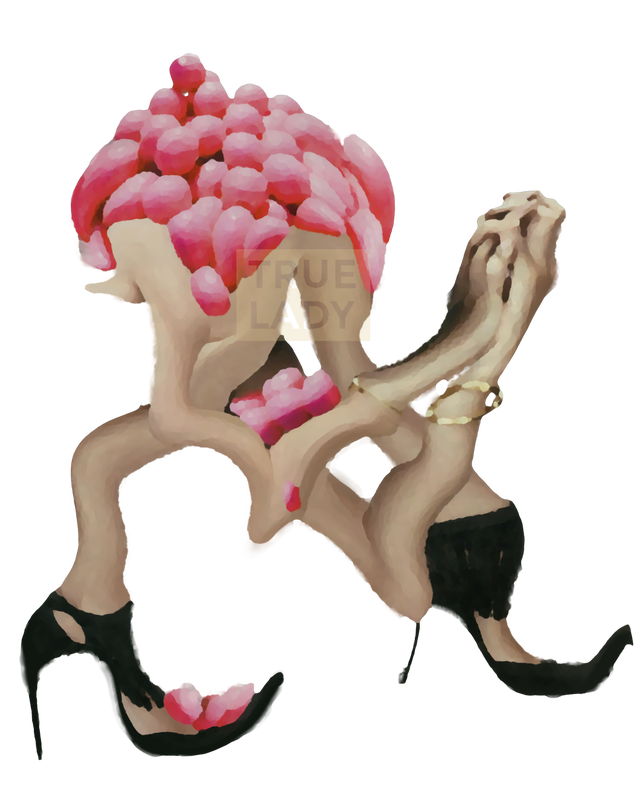
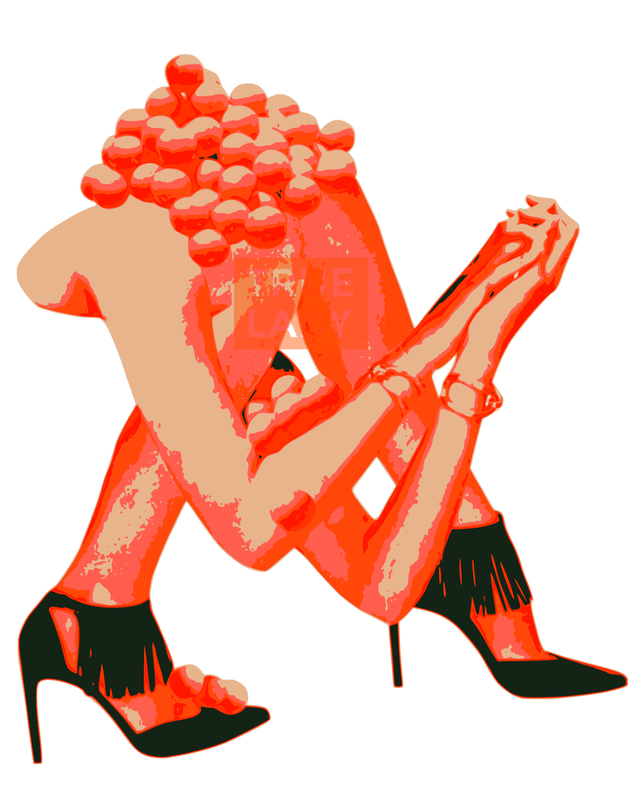
Click through the gallery below to see various interpretations of the same design.
But why bother? Well, I like having a copy of my work that isn't susceptible to mold or fire, that isn't gone forever if it changes hands. When it comes to drawing I think I am much better on paper than in a drawing program, but when I want clean lines and crisp colors the drawing can be changed a hundred times on my computer. Digitizing my work means I can have it printed as stickers, or a poster, or on a shirt. Designs can be enhanced and imperfections fixed. Lastly, IT'S FUN!
This is not a new subject for me (see my custom graphics post) and I will be coming back to it again and again. It is an important part of the way I choose to make art, and almost all of my posts have examples of how these skills are utilized. Next installment will be about art that is too big for my scanner!
This is not a new subject for me (see my custom graphics post) and I will be coming back to it again and again. It is an important part of the way I choose to make art, and almost all of my posts have examples of how these skills are utilized. Next installment will be about art that is too big for my scanner!