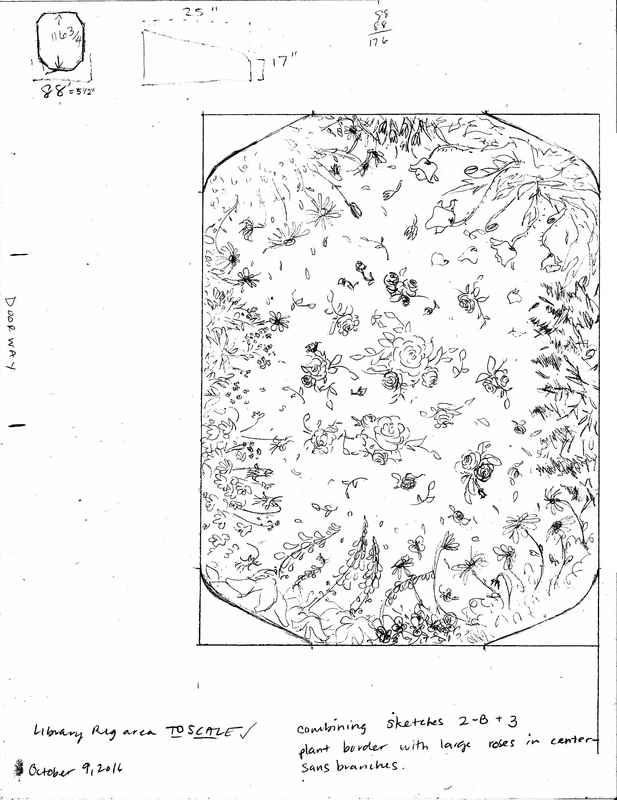
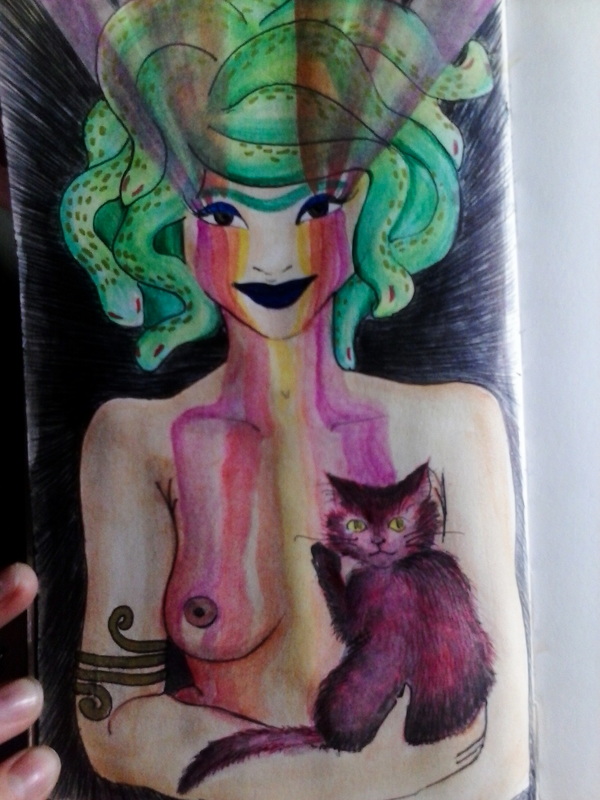
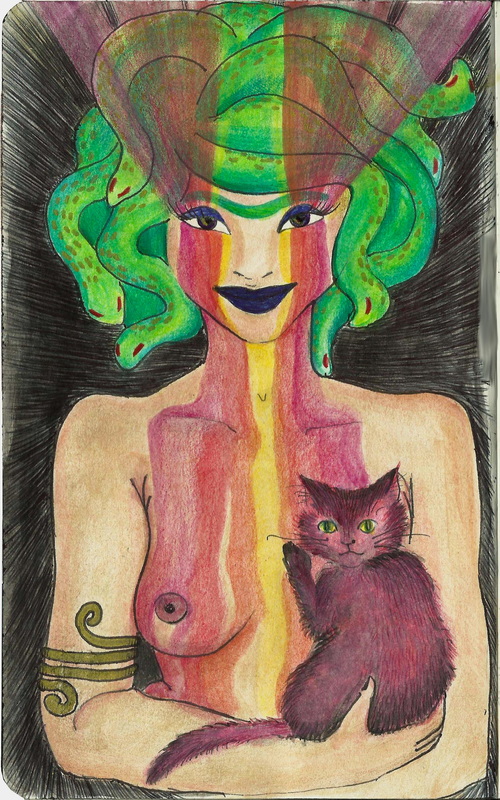
Cardboard and newspaper paper mache using Mod Podge original. The kitties and speech bubbles are cardboard shapes layered over the base image which gives the piece a highly textured, dimensional feel. Painted with latex and acrylic paint and clear coated with matte Mod Podge. Measures approximately 4 x 7 inches.
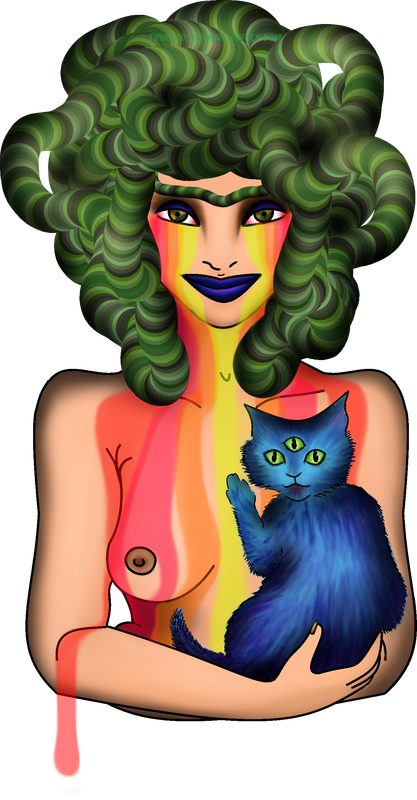
Piece can be displayed in any direction.
Piece can be displayed in any direction.