Jolee's Boutique Easy Image Iron On Transfer Paper
Despite many disappointing results many years ago, occasionally I buy a pack of iron-on transfer paper thinking to myself: maybe the quality has improved! I bet this will look amazing! So much cheaper than paying a professional!
I purchased a multi-pack containing five pages each for light colored fabrics and dark fabrics, 8.5x11". The instructions include suggestions for print settings depending on your brand of inkjet printer (these do not work with laser printers). Each sheet has indicator lines on the wrong side of the page so you can orient them correctly in your printer.
I purchased a multi-pack containing five pages each for light colored fabrics and dark fabrics, 8.5x11". The instructions include suggestions for print settings depending on your brand of inkjet printer (these do not work with laser printers). Each sheet has indicator lines on the wrong side of the page so you can orient them correctly in your printer.
Light Colored Fabrics
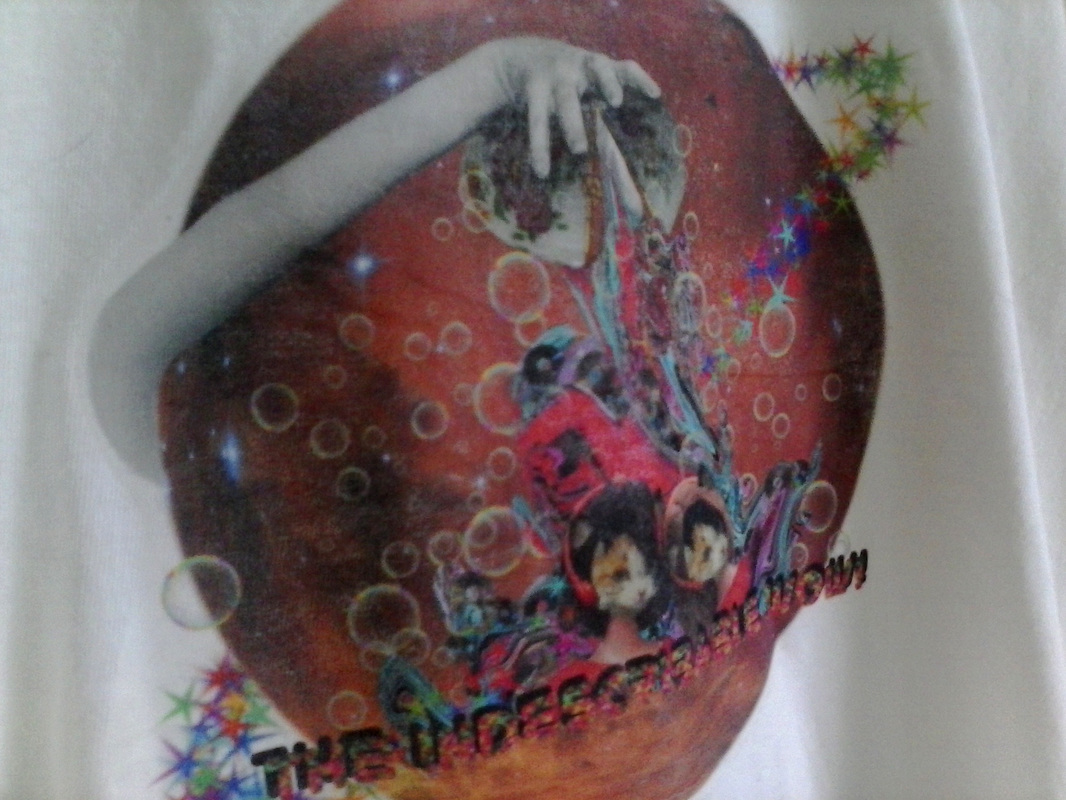
This is not a "bad" photo, the image transfer really is this fuzzy.
For light colored fabrics you must reverse the image before printing. Set your iron to the hottest setting, press firmly for about 1 1/2 minutes, then peel away the backing while the piece is still hot. (The instructions are adamant the ironing be done on a firm surface, not an ironing board, with the weight of your body behind each press.) Peeling the paper off was difficult to do and my very detailed image appeared faded because little specks of the print remained stuck to the paper. In my experience this is not unusual, though I had hoped the process would have improved. Even though the non-printed areas are transparent on the shirt, I wish I had trimmed my piece better because at certain angles I can see a wide, shiny outline.
Dark Colored Fabrics
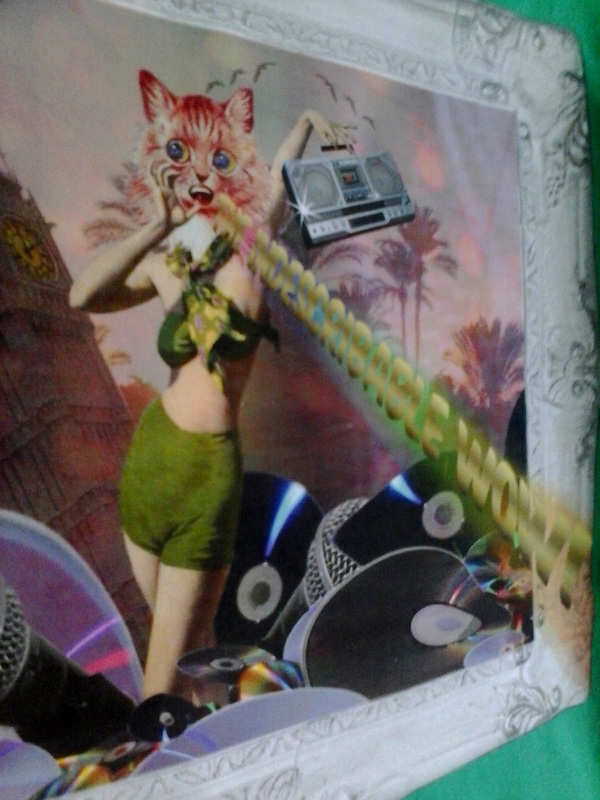
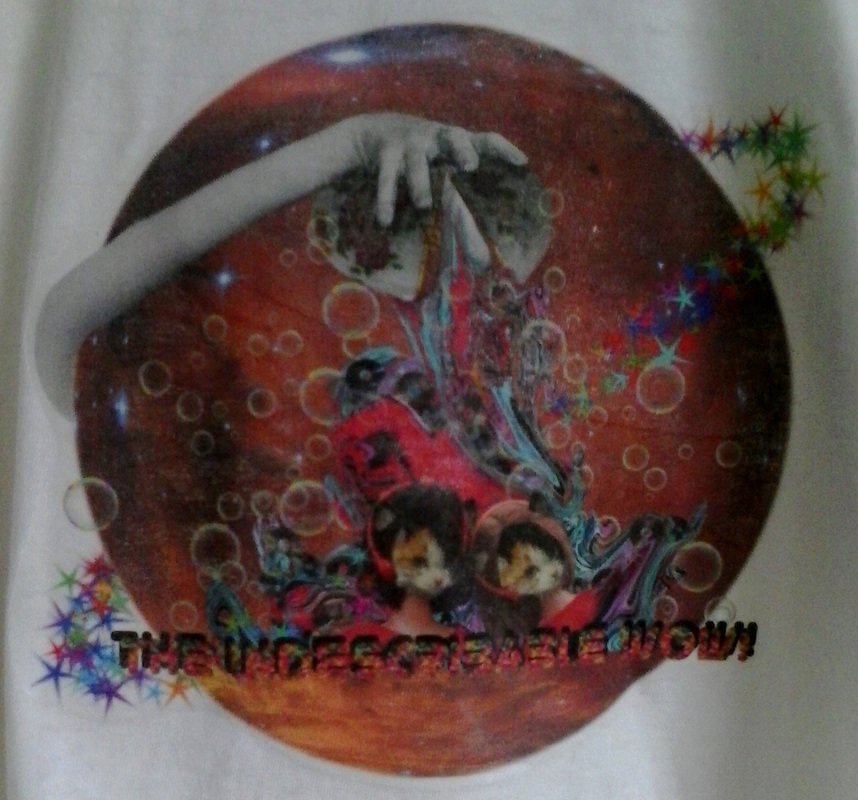
Image is less blurry than the other transfer, but the colors are faded compared to my actual design.
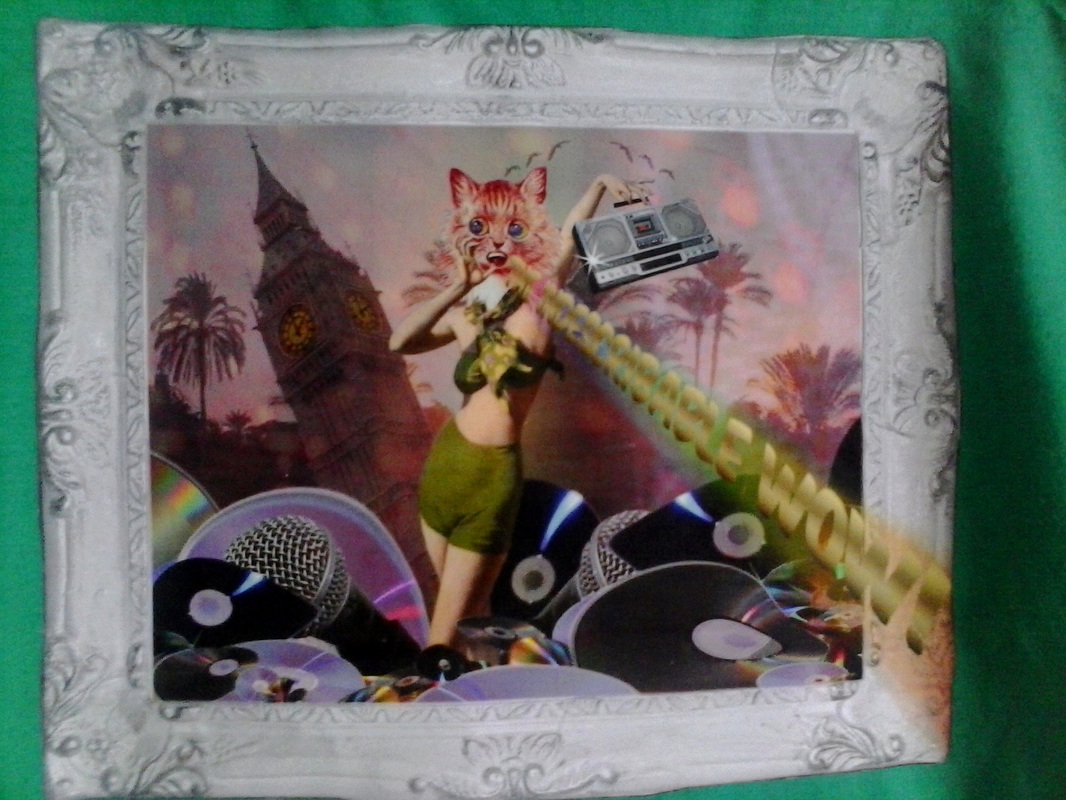
The image transfer for dark fabric is where the paper gets interesting, not just because this was my first time. Very important to remember-- you do not reverse the image for printing. Cut out your design as precisely as possible as any white areas of paper visible will remain white on your garment. That is one reason many people say this is not good for printing text. You peel away the paper backing before ironing; the piece feels and looks like a very thin and soft sheet of plastic. Lay it face up and place over it a piece of parchment paper (it was included) and iron the same as for light fabric. I ironed for around two minutes, then allowed the piece to cool, flipped it over and ironed from the back. It has very little stretch, but the quality of the image is immensely better. I did a lot of extra ironing due to the reviewers who complained of their prints peeling right off or shredding apart. Then other reviewers chimed in to say it must have been user error, and their irons hadn't been hot enough or pressed for long enough over each portion.
Wash Test
The included instructions suggest turning the garment inside out, washing in cold water with a mild detergent, and remove the item from the washer quickly because the colors may bleed if left sitting. Lay flat to dry.
What I did: From the start I knew I would be hand washing. A machine may be convenient, but it really is vigorous and I enjoy washing things by hand. In a large bucket I added around a gallon of cold water and a small splash of liquid detergent. I turned the white shirt inside out and lifted it in an out of the water and swirled it around for a few minutes. Then I put it in the sink, rinsed with cold water, and squeezed the excess water out-- no wringing or twisting! I don't have one of those screen gadgets for drying things flat, so I turned the shirt right side out and hung it on a laundry rack.
The dark shirt was pretty much the same method. I did my best not to grasp the image area to tightly; I don't want to crease the print. Again I rinsed, turned right side out and hung up.
| After both shirts were dry I checked the designs again. The white shirt looked no different, good news. As for the dark shirt-- the top left corner of the print had started to peel and if I pulled on it I was able to remove it even more. I am not going to try it, but I wonder if the entire image could be pulled off intact. The plastic-like print is only a tiny bit creased and the colors did not fade or bleed. My solution for the corner is a little dab of ShoeGoo or E6000, a very smelly yet effective all-purpose adhesive. I have used it on jeans here. | 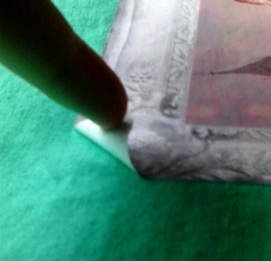 |
The Specifics
White Shirt: Jockey brand cotton tee, but very vintage. Like, this shirt is from the 80's.
Teal shirt: Hanes, cotton. It says "Live, love, color" on the label. It's worth noting I have had this shirt for about a year, so it has been washed many times and the green dye doesn't seep out nearly as much as it did when new.
Printer: Canon Pixma 5120, Canon brand ink
Iron: Rival brand iron, very inexpensive. At it's highest setting the temperature averages 450 degrees Fahrenheit on the pointed half, and 320 on the lower half. (I used a heat gun to measure this; the iron's packaging doesn't list a temperature range.)
Conclusion
Light Colored Fabric: The process for printing on light colored fabrics does not appear to have improved significantly; my picture ended up fuzzy and faded. This doesn't have to be a bad thing! I actually like how my picture came out in this instance because it complemented the old tee-- if we are going to "logic" this, a faded white tee with little holes should have faded art. If you keep that factor in mind there is a lot of potential to create custom distressed, grunge or shabby-chic looks.
Dark Colored Fabric: The process for dark colored fabric was very interesting but if a single hand washing is enough to start peeling my design away, I don't know it will be good for something as daily as a tee. Instead I am eager to try this product in more artistic applications or on an item with less stretch.
Dark Colored Fabric: The process for dark colored fabric was very interesting but if a single hand washing is enough to start peeling my design away, I don't know it will be good for something as daily as a tee. Instead I am eager to try this product in more artistic applications or on an item with less stretch.
