This is a tutorial for creating your own seamless patterns in Gimp. Online, you have probably come across at least one of the many "made-to-order" services offering skins for your laptop and cell phone, printing on garments, or even putting your pattern on a whole bolt of fabric. And though these sites usually have awesome pictures for you to choose from, maybe you wished you had your own pattern to upload that was totally original. Whether you already excel at graphic design or are a newbie to the world of digital image manipulation, this is fun, fairly easy, and basically free.
Example 1: Overview
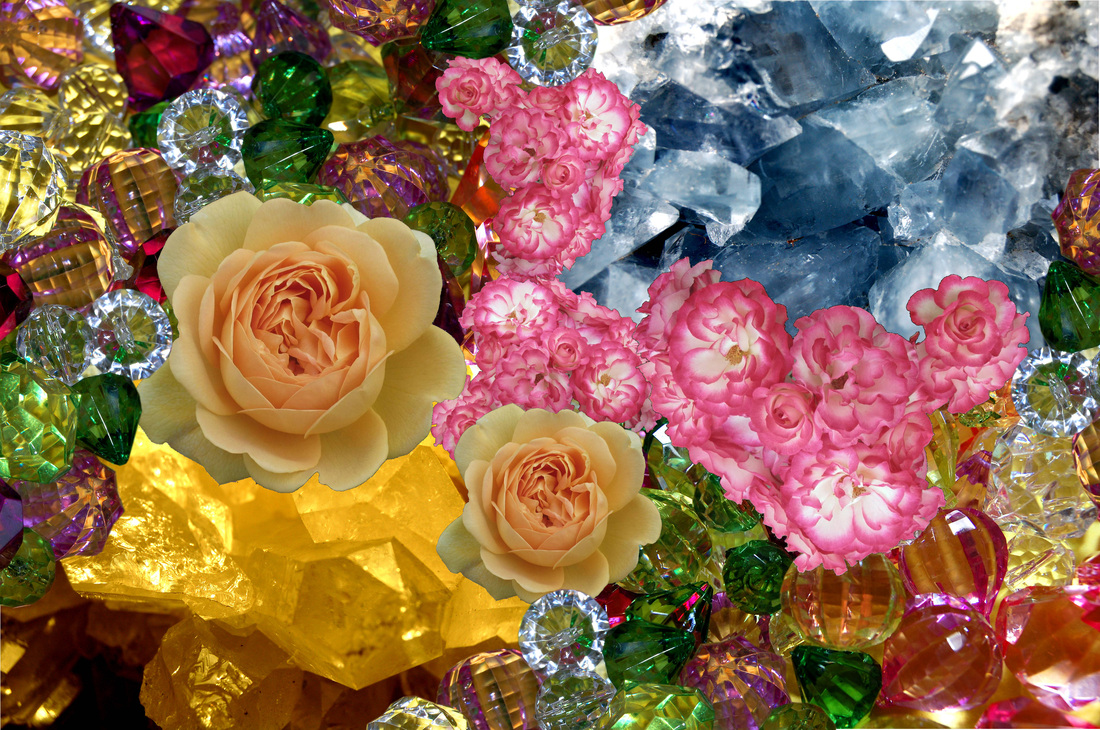
Step 1: Collage an image
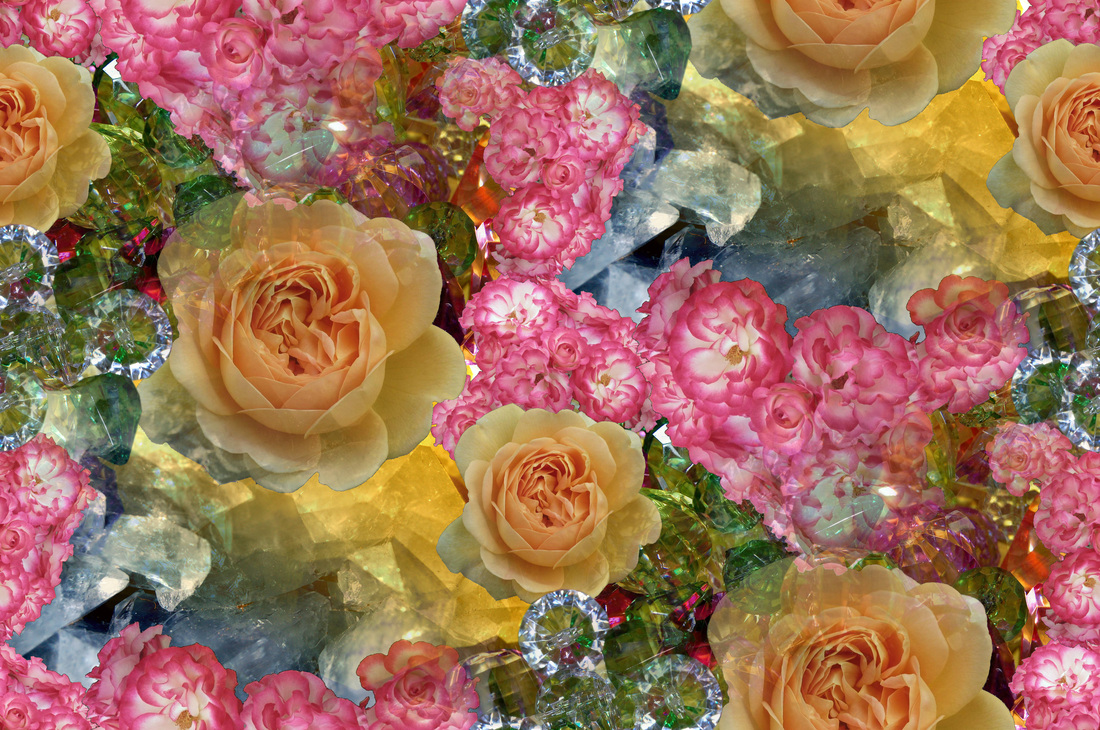
Step 2: Apply the "seamless" filter
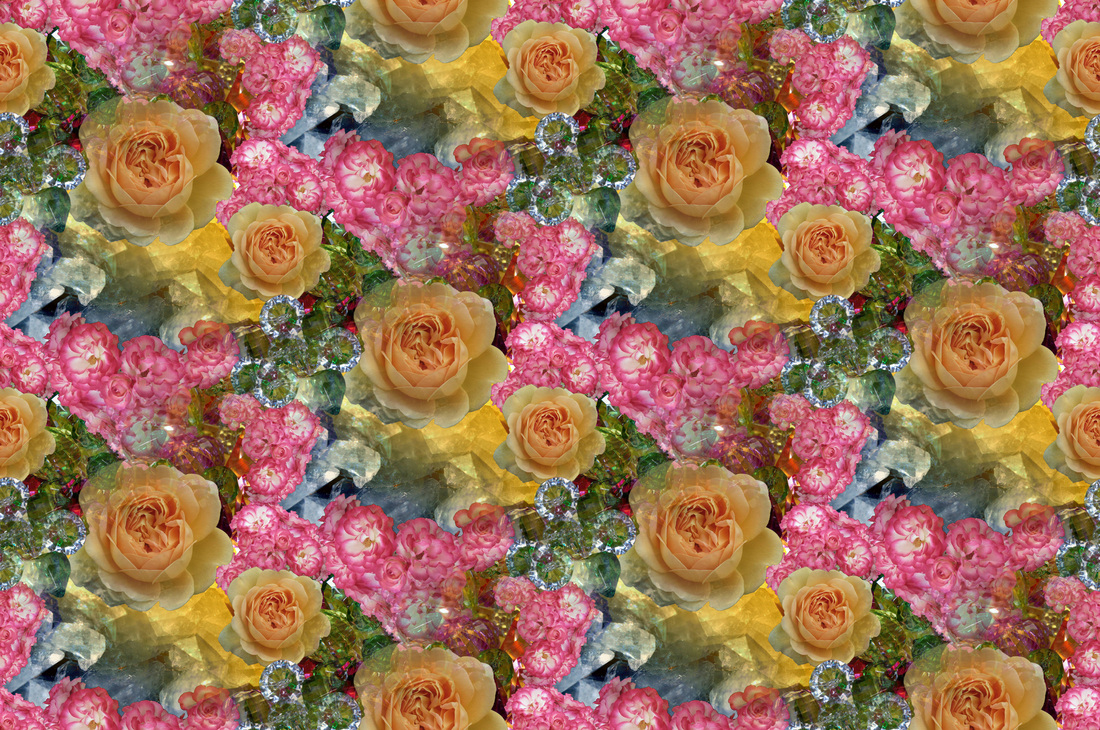
Step 3: Tile the image and marvel at your amazing skills!
Still interested? Let's make another one!
Getting Started:
All of my instructions are going to be for use in Gimp (fun and free!)
Gather images for collaging. For the pieces here I am using free photos from Morgue Files, (morguefile.com) which may be copied, altered and modified, without attribution. Most (if not all) of the images do not have any transparency and I had to create it myself. This requires opening the picture in Gimp and either using the lasso tool to "trace" an image and "cut" it out, or by deleting a plain background. Click here for a really nice transparency tutorial, which I used when I was first learning.
Here are some pictures I will be working with:


The Process:
File> New> Choose a canvas size. I am working with 20x20 inches. This is obviously quite large, but remember this isn't for me to print at home. The point is to have a large file for use with high resolution pictures, which can then be scaled up without it becoming grainy or pixelated. The issue with starting with a small picture is if you decide you need a larger file, you can't go in after and add pixels to maintain resolution. I try and save a large hi-res file, and I can always scale down later.
Make a collage I like to keep a bunch of images open at once, then cut and paste wherever I need something. Also, I generally try not to overwrite the original files; when I make alterations I save them as their own file. This is partly to stay organized, but mostly so I can alter the original image multiple ways without having to go online and find the file again. Play around with resizing the images, layering them over each other, and rotating. (I am not bothering here with multiple layers, but if you DO come across an issue later it could be you need to go to Image> Flatten Image)
Filters> Map> Make Seamless This is the quick way to make a seamless image because the computer program converts it for you. That is why all of my pictures have a hazy, cloudy, transparency effect. If you don't like this look, well, a clean pattern is for a different tutorial. But do save a separate file of the seamless picture.
File> Export As Choose your file extension. I recommend export all finished images as .png for its quality, and always save the original file (.xcf) which retains all of the project data. You can always go in again and export as a .jpg
Filters> Map> Small Tiles The tiling step is not necessary, it is just nice. Once you have the seamless image, that is all you need for tiling within another program. However I like to tile it right away so I can see what the effect is. The point is, I save my work in multiple stages so I don't go "Aaack I wish I had the picture in it's original form!"
The slideshow below offers some visuals of my process. It's true I could simplify my instructions further, but I am going to assume a certain degree of computer literacy. And as I have written before, the 'net is full of tutorials for Gimp users who are true beginners, give one a chance!
But wait, here's more


The people who do this kind of thing for a living probably already know these tricks, and more. My goal is for "regular" people to see how easy it can be to make funky designs which reflect you and your aesthetic. Maybe all you will make is a banner for your blog or a desktop background to share with friends... it is still really satisfying to look at something you find beautiful and original and say "I made that myself."