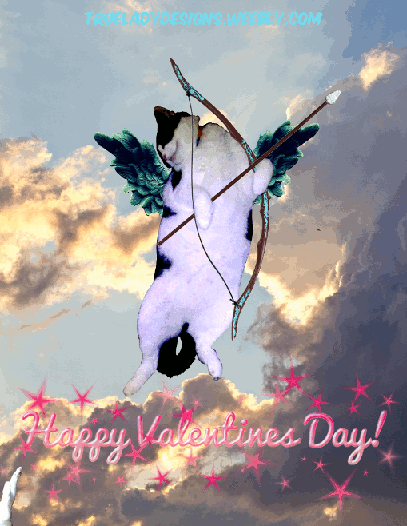
If you want to show movement then you need to keep in mind the logic of stop-motion animation, which can take a lot of frames. In my Valentines Day GIF I wanted to "animate" the stars around my greeting and the cats flying in the background. My work was done in four layers: clouds and sky in the background, the cats flying above it, over the moving cats is the main cat and text, and the topmost layer has the stars. The cloud layer and Cat layer remain untouched.
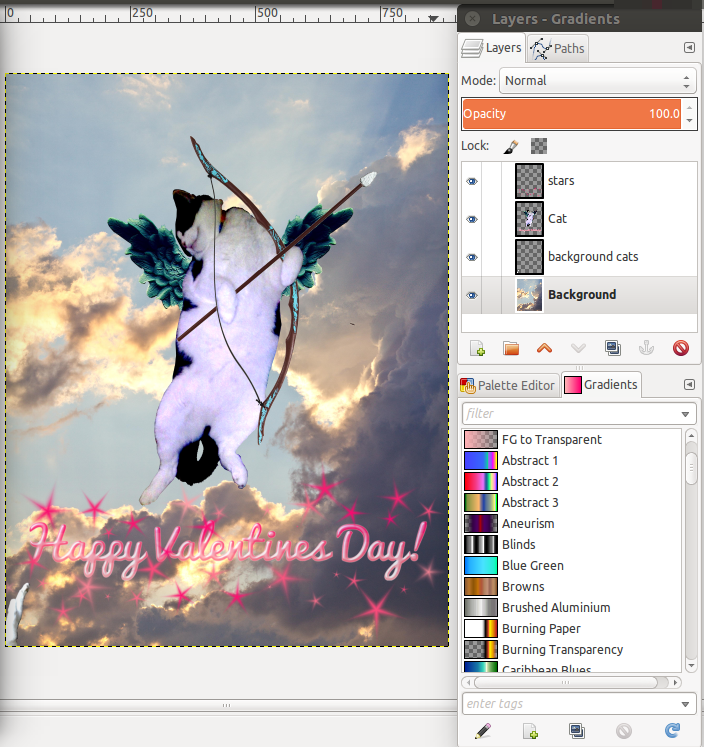
For each frame I drew new stars around the words, and moved the group of flying cats a small amount so they would appear to zoom diagonally across the scene.
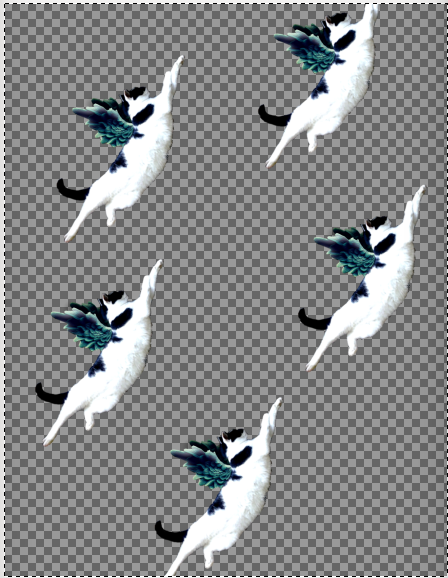
Flying kitties are arranged in formation on a transparent background, allowing me to move them as a group for each change.

After each change File > Export As (file name). I exported them in numbered order. Then when I decided to add more frames I made sure to put them in the correct sequence. This piece has thirty frames.
When your frames are assembled, open Gimp. File > Open As Layers (Ctrl+Alt+0) Highlight all of your pictures at once and hit enter, this will open every image in the same file as individual layers-- kind of self explanatory. Note that the bottommost layer is the first to appear in your animation.
If everything is in the right order, File > Export As (file name) .gif
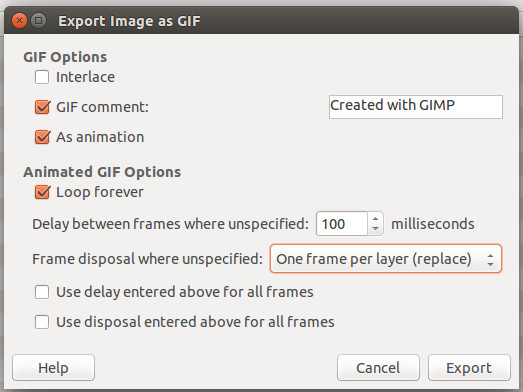
A dialog box will appear with animation options. If you can't visualize how these parameters affect the GIF, save your work, then go to Filters> Animation> Playback to see how it looks. Adjust your animation as needed.
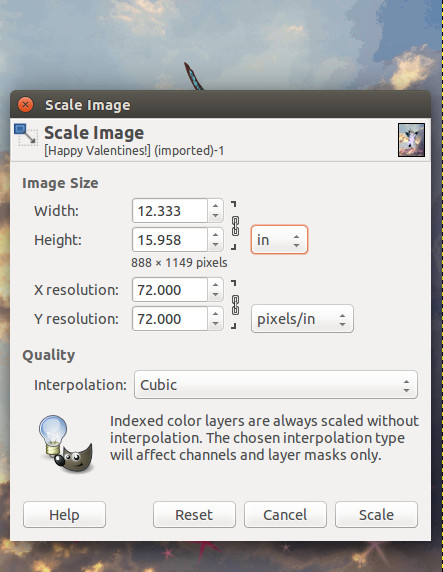
IF your file is very large, like mine was, it might play on your computer but will not on a web page or in an email. In that situation have your GIF document open in Gimp with all of the layers, go to Image > Scale Image, and scale your image down to a smaller size.
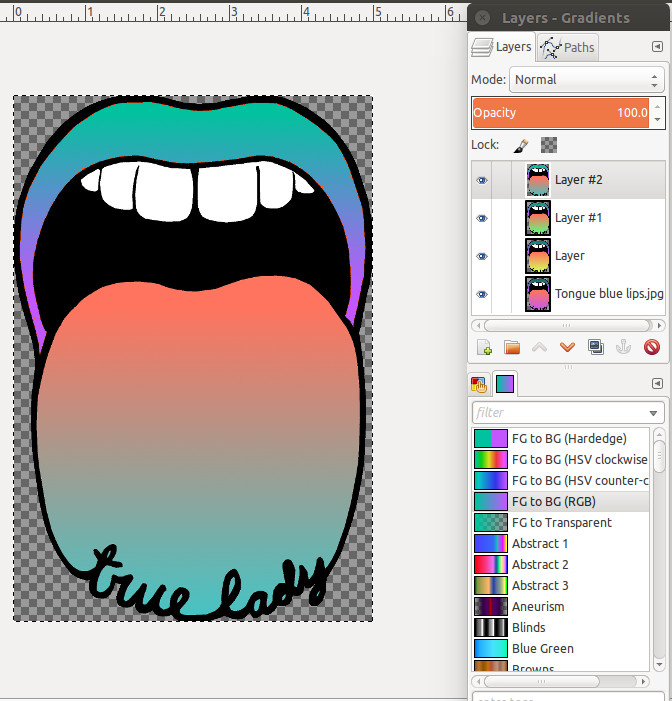
Now let's make a simple one
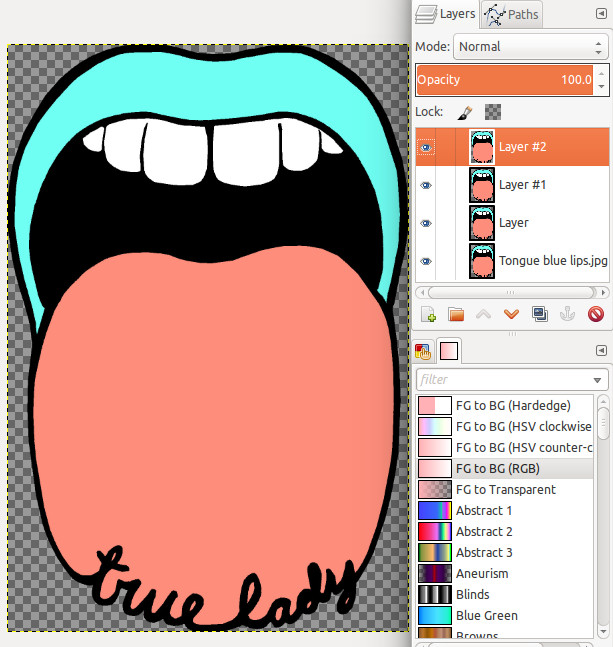
I pasted the same image into four separate layers. Using the color picker tool I added slightly different gradient colors to each frame. When I was finished I scaled the image down and exported as a .gif!