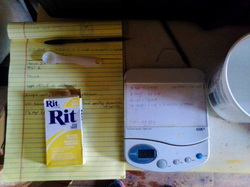
Preliminaries & Preparations A project I am really excited about is a fanciful painted rug for an in-home library. This is an interesting space: it used to be an open floor plan with the living room and hall connected. Its floors had been a very dark blue color so the homeowner, in order to brighten the area, quickly painted a pale yellow 'rug' with green leaves over most of the floor. In the intervening years a wall was built to make the living room into a more private space which has bisected its original yellow painting. Now the room is being converted into a library. The plan originally was to paint the entire floor white for a fresh clean look. But as I got underway I was lamenting covering the interesting yellow area. I had a new idea to paint over all of the blue areas, and make a white border against the new wall to create the appearance of a smaller rug for the library space alone. 
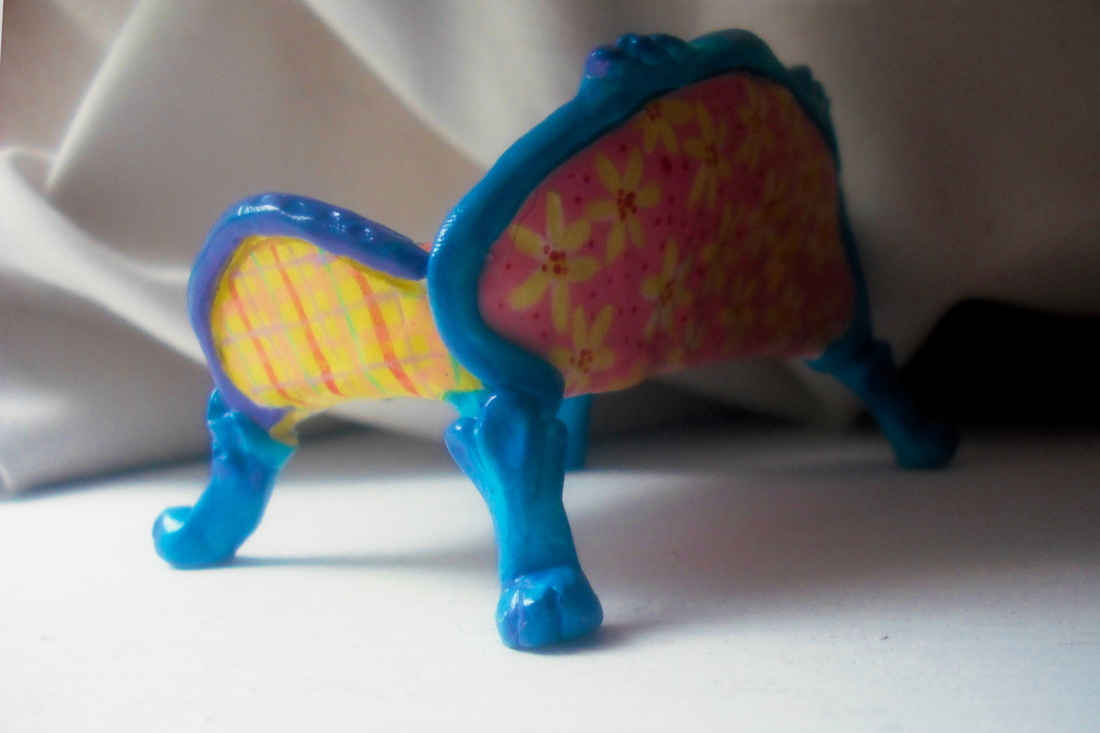
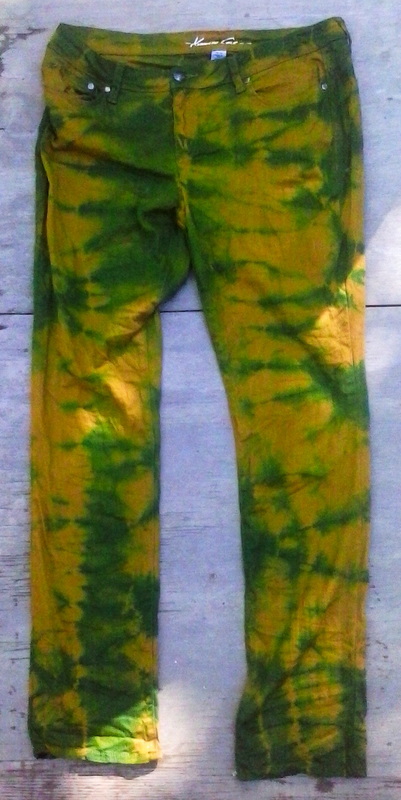
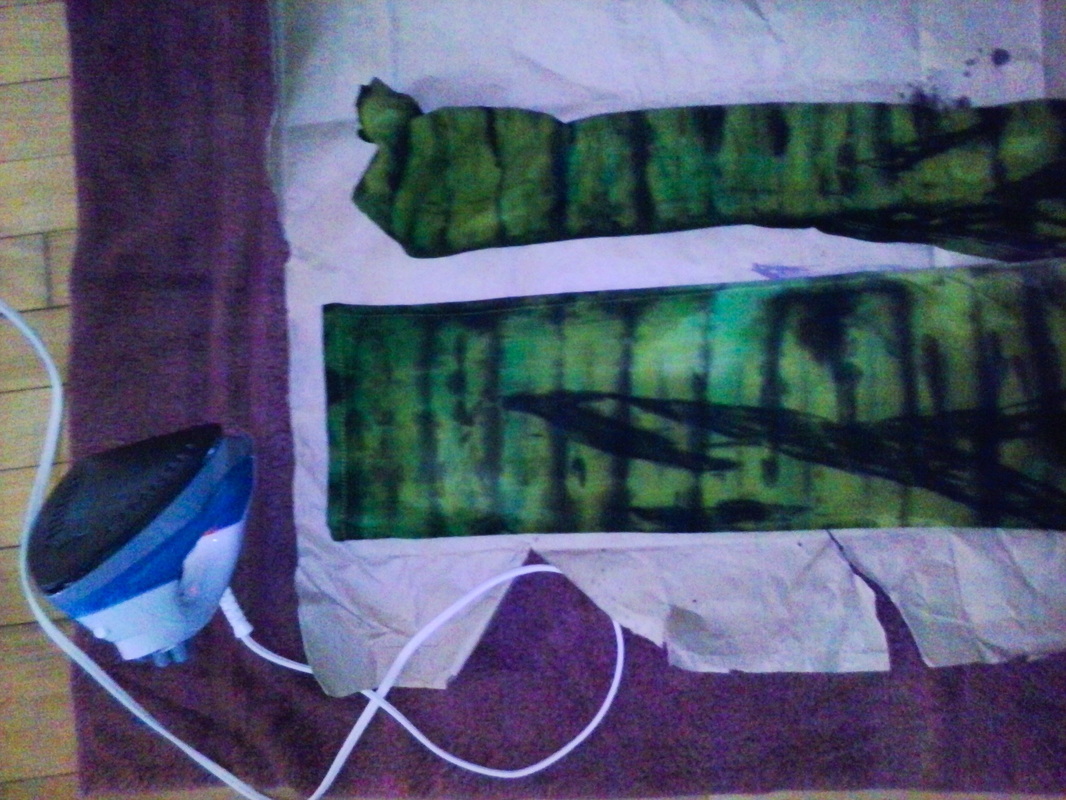
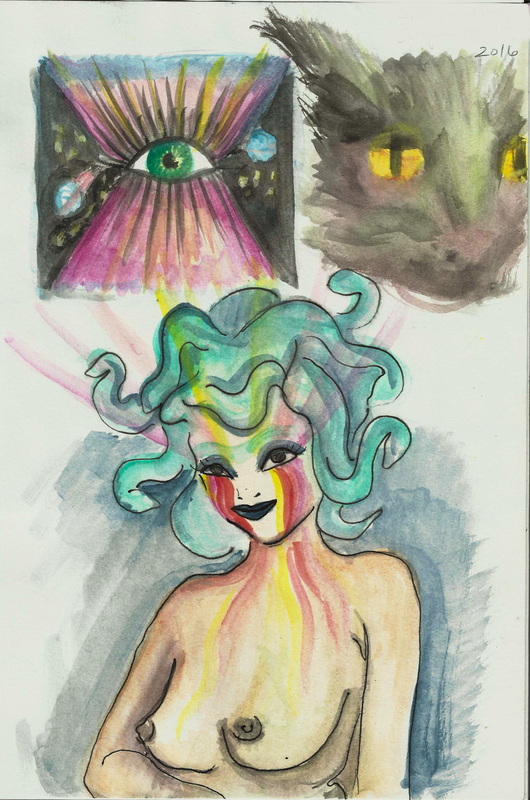
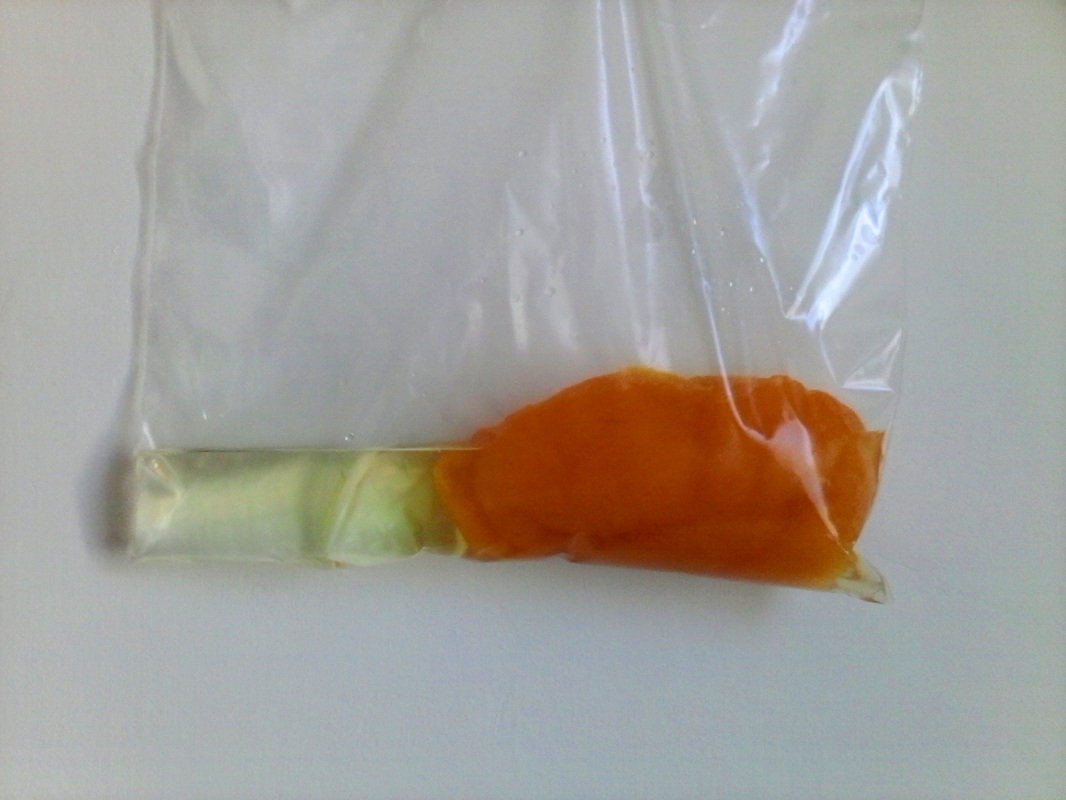
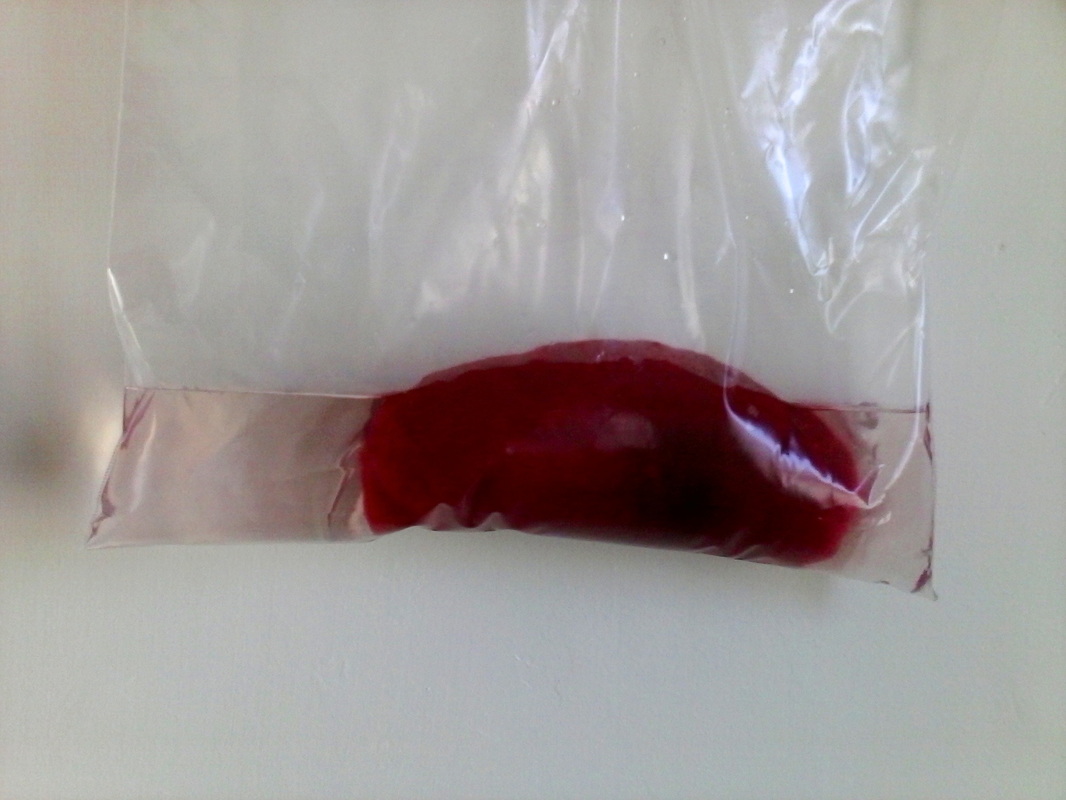
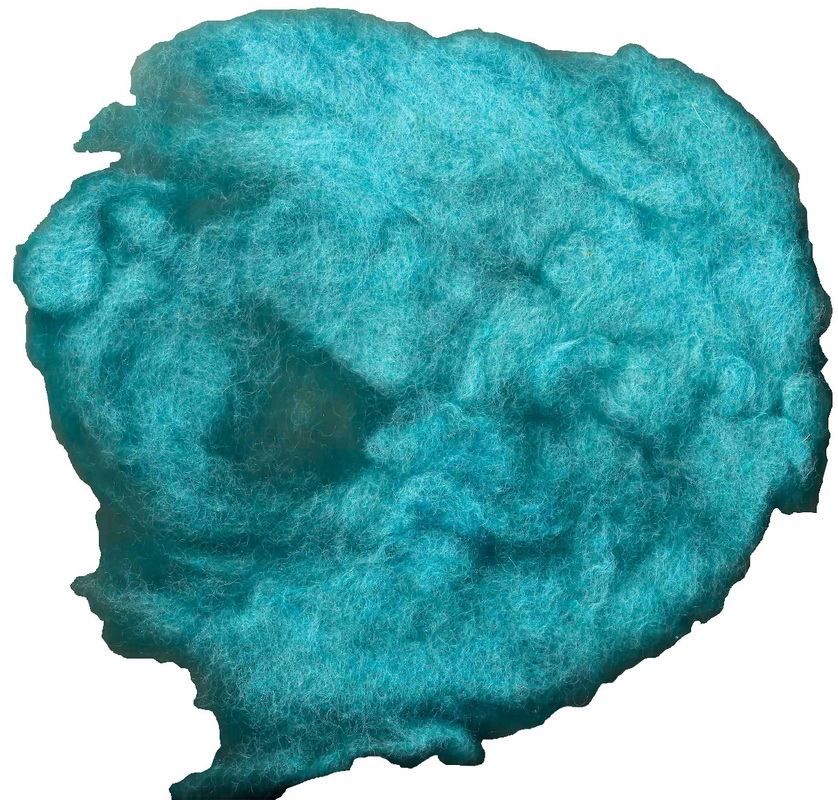
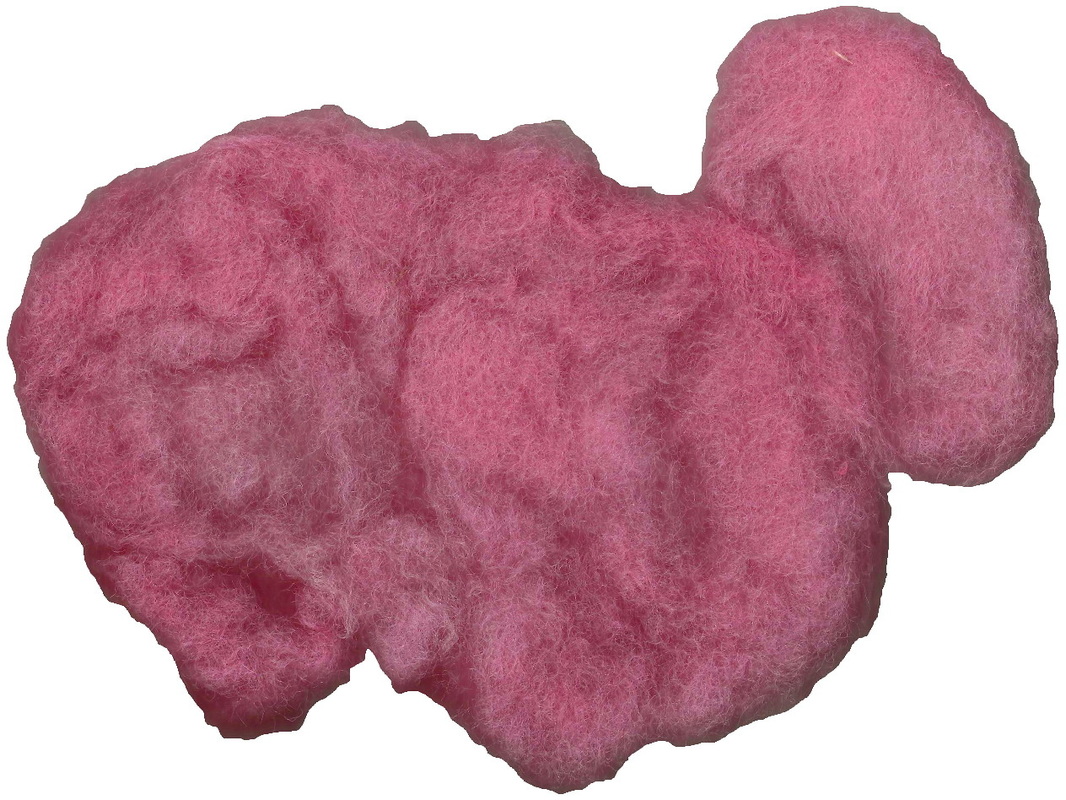
I love the interesting finish this floor has, so for all of my paintings I lay a base coat of deep blue and roughly brushed on a pale yellow so I could truly create a realistic rendering of the finished project. Above is a practice and idea page. 
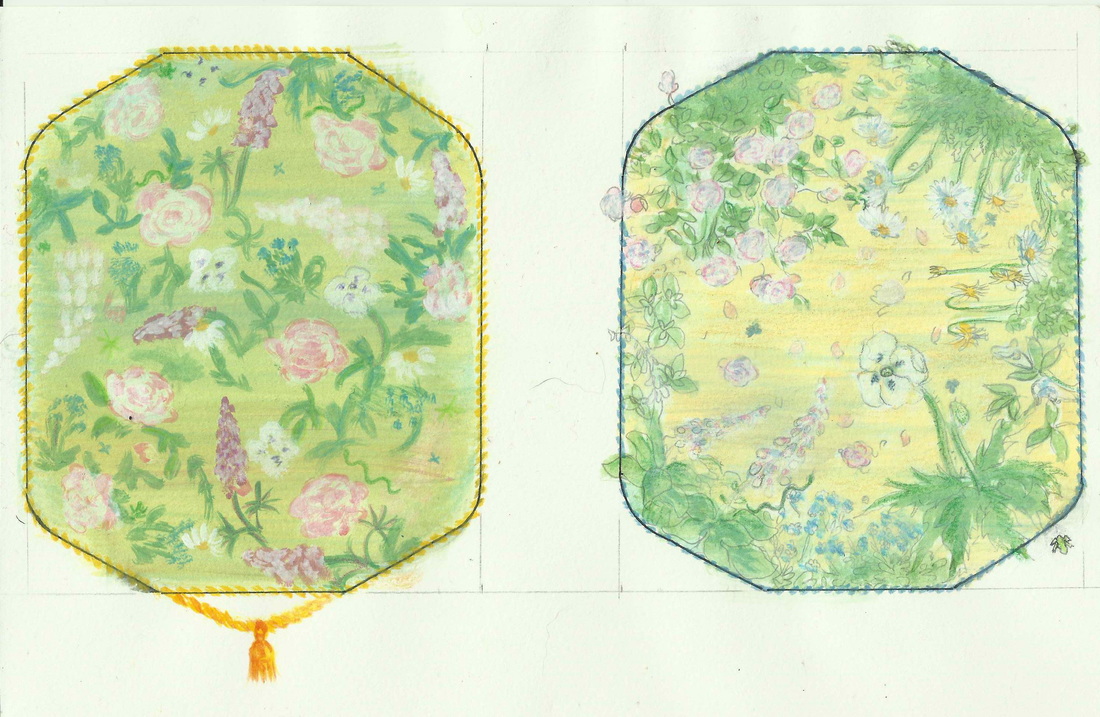
Design on left would be humongous when scaled up to full size. Paintings above and below are not to scale; I just wanted to have examples of different variations on the same theme before creating my final sketch.
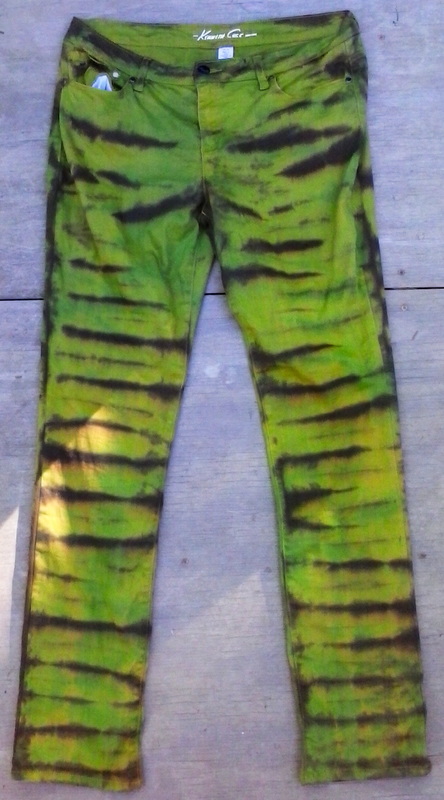
 
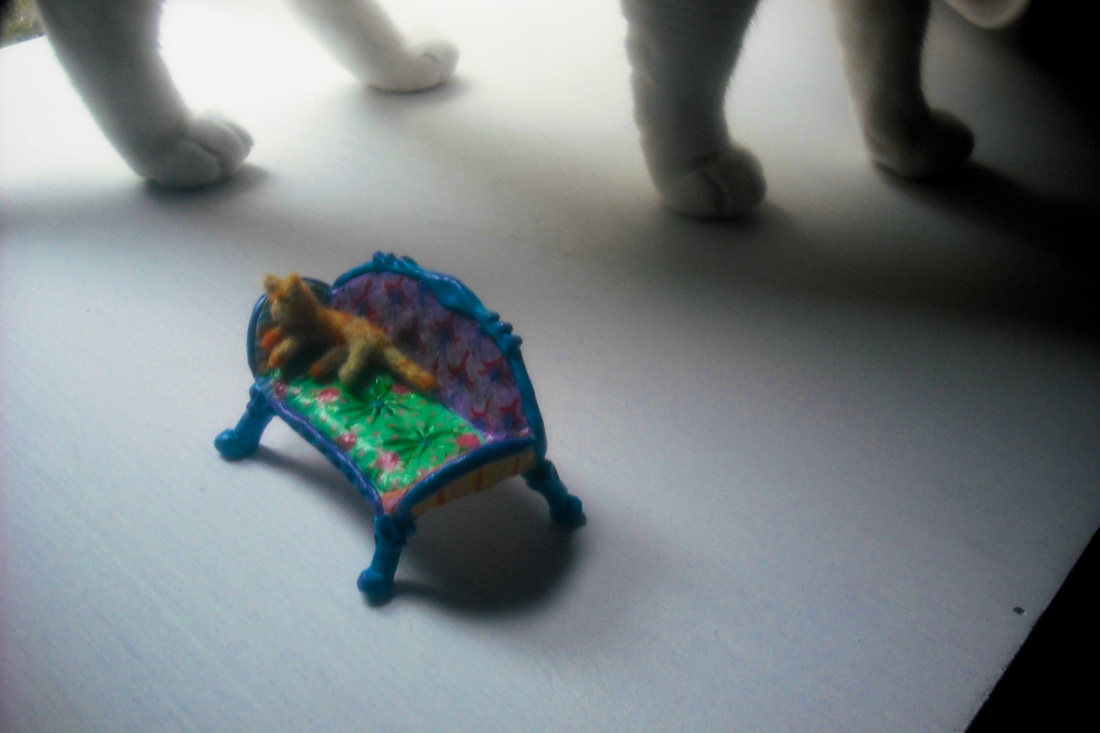
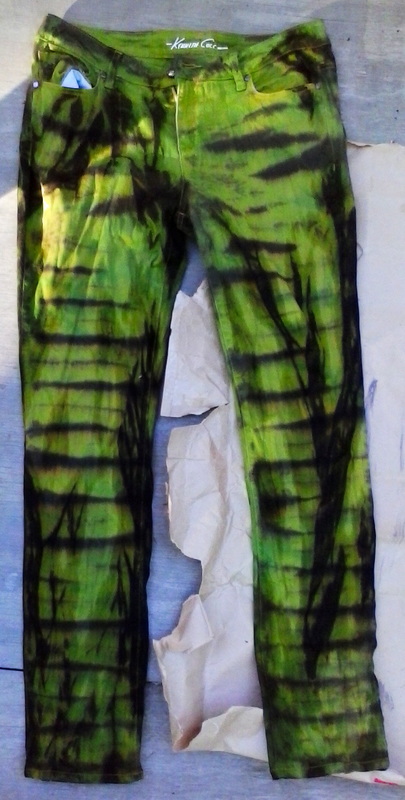
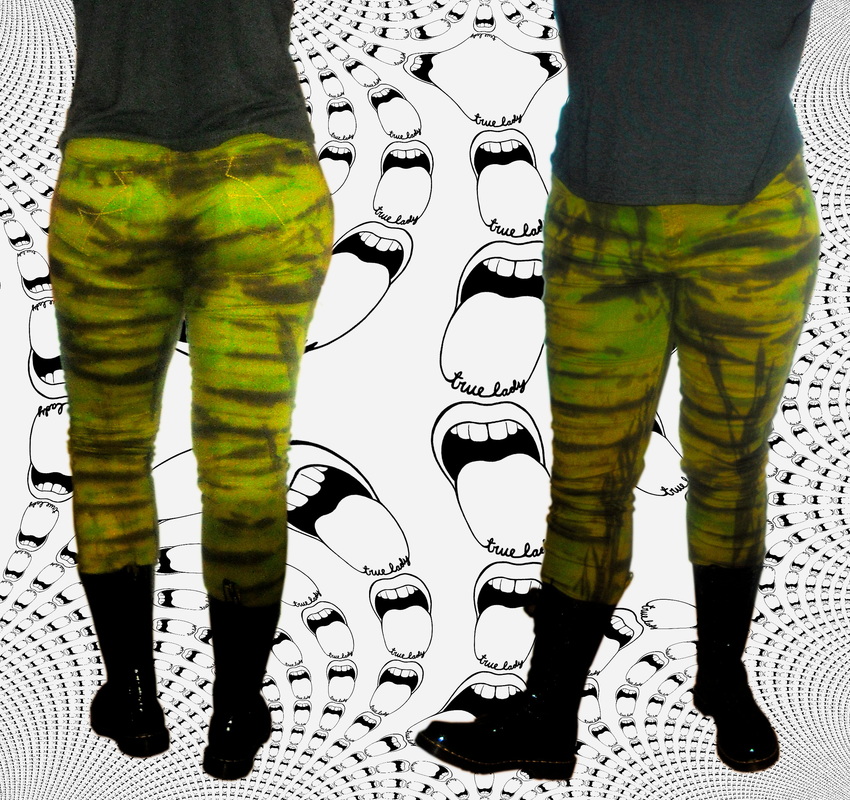
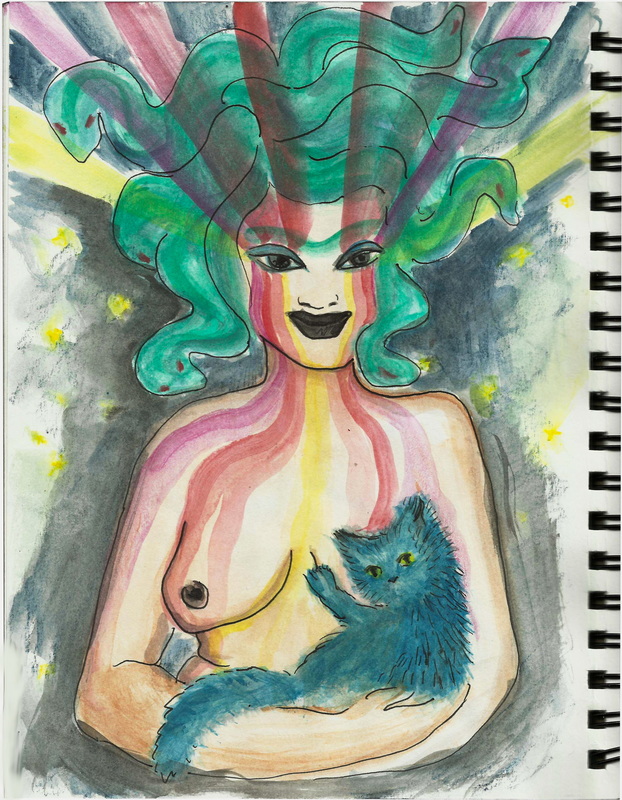
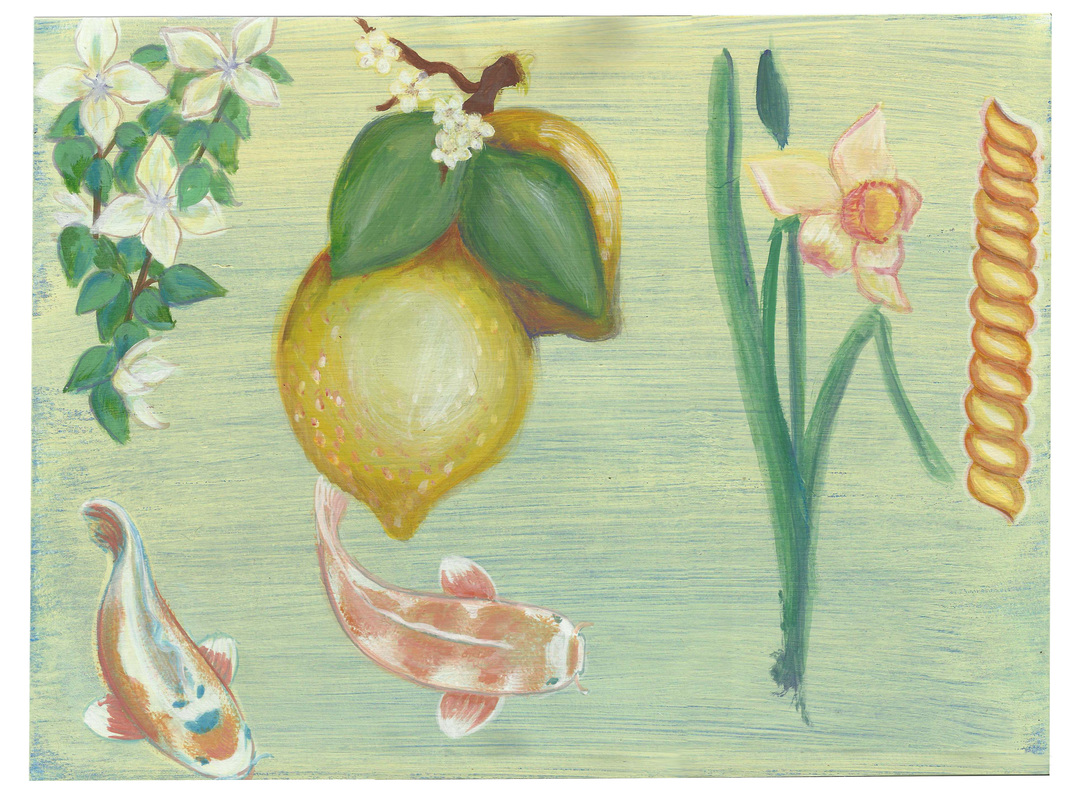
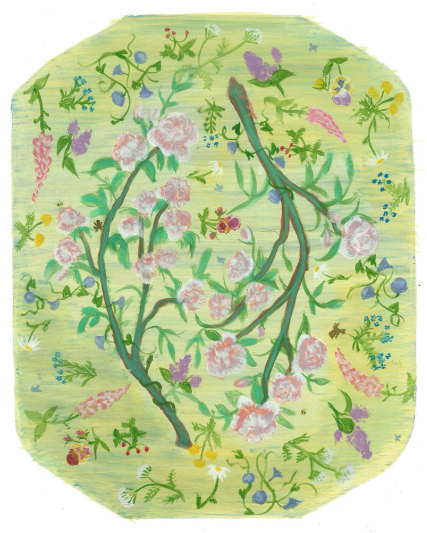
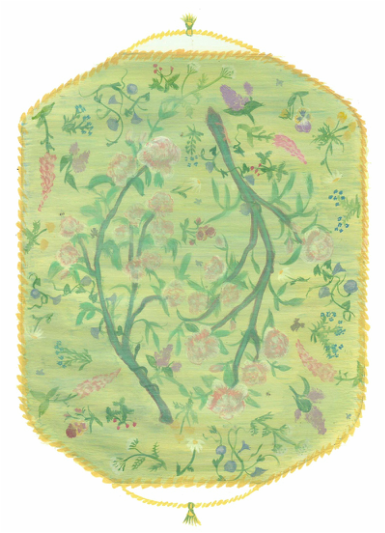
Roses in the middle surrounded by lilac, pansy, forget-me-not, foxglove, wild strawberry, dandelion, queen Anne's lace, morning glory, and daisies. Also included are a salamander, a snake, bees, blue moths and a couple of little frogs. My previous paintings had me creating white flowers with hints of color; in this third piece I experimented with painting flowers in full color and then washing over the entire piece with watered down paint. It ended up too green, but this was my favorite method. 
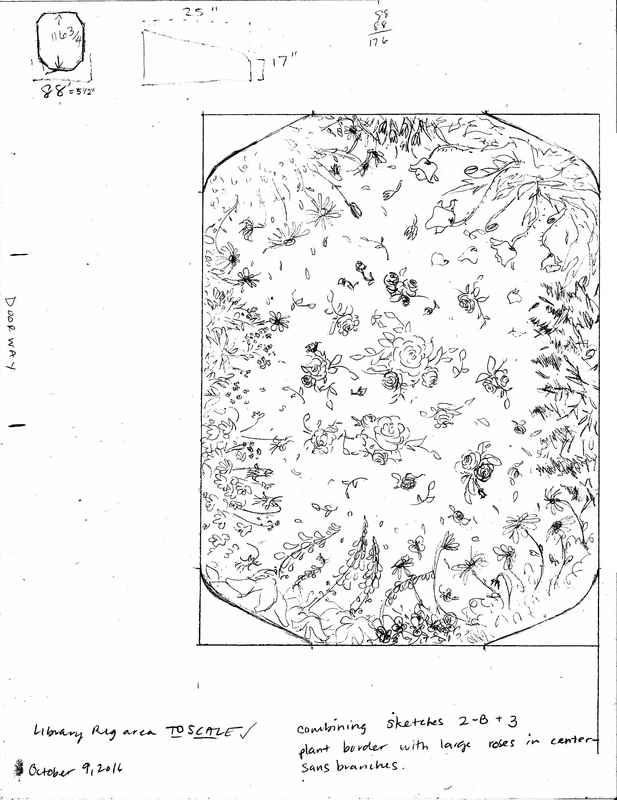
After my paintings were reviewed, the final design is a combination of sketch 2-b with the border of flowers growing toward the center, and large roses free-floating in the middle from sketch 3, but without branches. This is also to scale, so I can draw a grid over this piece and transfer it to the actual floor. However... it is still difficult to envision what this is going to look like full size, so I am going into this with the understanding that my design might have to change on the fly, and I'm okay with that.
Alt Titles: Get On The Sole Train! Hey Sister, Sole Sister Curse My White, White Sole Before I really don't like white soles on my sneakers. (Technically I am talking about the midsole here.) Since I've been wearing this pair of Asics for a few months I felt comfortable experimenting with painting over the white using latex and acrylic paint. Step 1: Wash soles with some dish soap and a magic eraser Step 2: Paint I chose to paint and blend directly on my shoes. The orange and green were mixed in place, and I worked quickly to fade each color into the next while the paint was still wet. Blue and purple took two coats before it was fully opaque. The midsole on this pair has an interesting design molded into it so I did my best to work with its design and enhance it with my colors. After totally free-handing one shoe I used it as the reference so my other sneaker would match. Easy! In order to see how my paint-job would wear I decided against using any clear coat. I also couldn't decide which to use: clear acrylic paint, matte Mod Podge or original Mod Podge. I might test out all three on my shoes and see which works best. One Week Later Hey, my work is holding up surprisingly well! Important to know that it isn't holding up perfectly-- small areas closest to the ground have scraped away as well as in the creases where I have crushed the foam down. Still loving how they look.
I think if I had painted my sneakers when new the flaking would be more catastrophic. Remember, I've worn these most of the summer, you can see where the foam has creased in the heel area from my stomping around. Paint on new shoes before compressing the foam would probably have flaked away sooner and more visibly. Just a theory. Also I didn't use a primer, so I'm wondering if I had coated it with Gripper first my paint would stick better. Something to try next time! (Winner: Topical Title, 1989) Wire armature bulked up with aluminum foil then covered in white, oven-bake sculpey clay. Painted with latex and acrylic paints to create my Fantasy! Flower! Fabrics! The back is a stylized fuchsia repeat. To the left are yellow water lilies, to the right is purple wisteria, and the seat has roses and rosebuds. Needle felted cats are the best cats. Stylized yellow daisies on the far back panel, and the exterior of the armrests are a gingham and tartan. ***
Cheap & Awesome Furry Keychain ...AKA... Of all the places to find a gorgeous, fluffy, giant key-chain, this is from the Family Dollar for two bucks. There were a multitude of available colors, I chose an aurora borealis blend of magenta, green, deep blue and a hint of yellow. It comes with two types of connector: a large lobster clasp and a split key ring. The chain has double swivel loops as well, which I think is a surprisingly classy touch. The chain and clasps are an incredibly bright gold, and I'm still undecided about painting over it with a more muted shade (probably using nail polish). The fake fur is very soft and I would say it has a medium shine-- not super glossy or matte. This is going on my backpack, ASAP. Definitely not an ad. I just like key-chains.
When I was a child I only went to one tie-dye party. The dye baths were lukewarm, my little hands didn't wrap the rubber bands tight enough and everything I made sucked. I have been really into tie-dye lately but I'm not going to try and analyze it... wearing these pants will just make my life better in every way. Simple. Starting with a pair of Kenneth Cole pants purchased from Salvation Army a few years ago, probably for three dollars. I wore them fairly often during the fall and winter, and after growing tired of mustard colored legs I packed them away. They are light-weight and are made from 98% cotton, 2% spandex. Dye Progression Filled a plastic bucket with my hottest tap water, and dissolved 1/2 a packet of Tulip Turquoise dye with 1 tablespoon salt. Bundled my pants, then soaked in warm water for a few moments, squeezed out the excess, then placed into my dye bath. Pants were in the dye for 50 minutes total, with me stirring and agitating the pants every ten minutes or so. After removing my bundle from the dye bath I didn't let it sit long before removing the rubber bands and admiring my work. I love how the turquoise dye became a great lizard green over the mustard color. I re-heated the original dye bath in the microwave, and put the pants in again with no bands. The point was to color the remainder of my pants green, while saturating the original green streaks to a darker hue. Pants soaked around 20 minutes, then I took them out and rinsed in cool water. I know this means the dye didn't have much time to set, and the recommended course of action is to actually microwave the entire garment which really heats it through. Because these pants have a metal button, zipper, and rivets I chose not to put them in the microwave. If my pants start to fade I don't have a problem overdyeing them and heat setting with an iron right away. Black Rit dye.... for some reason I did not bother measuring or working out my ratios for mixing such a small amount of dye. Seriously, I just shook some dye into a plastic cup and added a bunch of salt. After letting my garment dry to the point of still-damp-but-not-dripping I wrapped them in bands again and applied the black dye using a brush. The next day I twisted my pants lengthwise and dyed black again. Then I folded them accordion style and dyed black a third time. After letting them dry for a little bit I set up my iron on the hottest setting and went over the front and back of my pants three times. Rinsed again, let dry, put on my body. My pants didn't turn out how I had been imagining but I am still really pleased. I tried to make small pleats so the black lines would be close together but obviously that didn't work. My vertical striations also didn't manifest quite how I hoped, but I like them anyway especially as it keeps the overall pattern from looking too "tiger" or "zebra". As with most fabrics the colors on my pants are richer and more dense when wet-- once they dried I could see the black is more of a dark gray and there are a few areas where the original dijon color is peeking through. This was definitely an informative experience and I have plenty of ideas I want to try out on another unsuspecting piece of clothing... or bedding... or curtains? Nothing is safe. My super cool sister even weighed in on my latest project-- if that isn't an example of unbridled enthusiasm, I don't know what is!
Upcycled crates - Perennial PlantersFor a few years I've had a number of Peras Argentinas crates sitting around so I finally decided to implement Operation Sassy Cottage Planter. I chose to use perennial plants because 1.) it means I don't have to buy anything, 2.) they provide an accent that stands out while remaining cohesive with the landscape, and 3.) I don't have to buy anything. Let's get planting! With my trusty trowel in hand I crept around digging up bits of plant until I had enough to fill both crates. The variety I've chosen will flower in succession throughout the season, and as one plant begins to fade I can stick it back in the garden and rip up something else for the planter. The vinca will probably be the first out (once its flowers have finished) and my astilbe hasn't opened yet. Though the iris won't flower this year I love their blue-green leaves just as they are. Wild marjoram will have an umbel of dark purple buds which open to reveal a pale pink. The main focus of Aegopodium are its green and white leaves, but larger plants will also grow flowers resembling Queen Anne's Lace. I am most looking forward to the growth of Lysimachia nummularia (creeping jenny); this little creeper will soon be shooting out long strands of bright green foliage which is later covered in yellow flowers. I used the same plants in each box but mixed up their locations to prevent the crates from looking too matchy-matchy. As much as I cringe hearing the rhyme "Use a Thriller, a Filler and a Spiller!" it is still good advice. This means, regardless of the varieties of plants you may have available to you, use the tallest flowers in the middle and back, medium around the edges and some kind of trailing variety to hang over the front. Knowing these planters would be going out in full, blazing sun I didn't poke any drainage holes in the bottom of the plastic because I don't want to compel the homeowner to run out and water every twenty minutes. I'm confident the combination of moist, woodsy soil and hardy perennials will have everything looking fresh even if it dries out a bit.
A few months ago I found this small backpack in a Goodwill for $4, and have been using it most days as my shuttlecraft (big backpack is the mothership and little backpack comes out for short range missions). The material looks and feels like a stretchy, slippy vinyl, and its straps are secured with velcro, allowing me to attach them to each other transforming this into a cross-body. A translucent label sewn on the top flap has "b-bags" embossed in black. Its interior has no brand labels, only a tag reading: SYNTHETIC LEATHER MADE IN CHINA which I find incredibly hilarious, considering this material resembles leather in no way whatsoever, unless you think every material that isn't a woven fiber must be analogous to leather. My research into this bag and brand have been unsuccessful, so judging it solely on appearance I would optimistically date this between the late 90s to early 2000s. Pessimistically, this is just some bag with no quasi-vintage provenance. But I love it, so who cares, right? The previous owner may have been incredibly gentle, but I believe this bag was in almost-new condition when I found it because with my repeated use small tears have been propagating along the top curve where vinyl attaches to the polyester straps. My original idea went as follows: cut a long, narrow piece of a supporting material (in this case, black marine vinyl) and glue it along the top seam of my bag. This new trim would stop any tears from propagating further and evenly distribute the load to minimize future damage. The glue wasn't setting as quickly as I had hoped, so I left my bag overnight. Next morning I check my work and pull the trim gently to test adhesion-- shock of shocks it peels away leaving no residue on my bag! Obviously Chinese "synthetic leather" is some kind of magic material and it's the first time E6000 has failed me. The end. Well, in a way... I'm a bit glad this repair didn't work as planned when the marine vinyl went on bulkier than I hoped. This now provides me an opportunity for a do-over. My original concept is sound, I just want to find a thinner material and need a different glue. And in case anyone cares, it did occur to me to sew on the trim, but I am wary of poking more holes into my backpack.
Always try to Fix It and always be ready to fail, we'll see how this one goes. Needlepoint fabric for $5! I love thrift shops that also stock art supplies. This store has an entire little room with fabric and notions, patterns, crafting tools, and the occasional gem donated by local businesses or fancy folks. This bolt of single thread needlepoint material is 40 inches wide and when rolled out measures a little over 7 ft. I have done the research and the math-- to buy this new could be over ninety dollars. I still can't believe it. So, in the words of my mother, "What are you going to do with it?" Short answer: I don't know yet. I am thinking decorative wall hangings, little floor rugs, large needlepoint... awesome stuff. This fabric is a variety which comes coated and stiff so I don't think it will be good for bags or small flexible items. Anyway I want to take advantage of its large size and make some big art. Scanned the needlepoint of my banana slug, smoothed in Gimp, vectored in Inkscape, Airspray filter applied. I show the process here.
Medusa and child This image came to me around a week ago, a woman with multicolored projections emanating upward from her eyes and running down her body. I had been thinking a great deal about silk painting and psychedelia. The original sketch. I used Derwent Inktense blocks by wetting my brush and picking up the pigment, then laying it down like watercolors. The black outlines are with a Pilot Precise V7 pen. I love this drawing; her three-quarter turn, her small chin and big eyes looking up, her serene smile. I was almost finished when I really wanted to have her holding a cat, but since this is the bottom of my page I didn't feel there was enough room. Second painting. As with the first, I free-handed the whole thing with paint instead of laying down a pencil sketch. I gave her a bigger chin this time and made her body more substantial, also added red eyes to her snake hair. I think she appears stronger facing the viewer directly which also gives her Ocular Emanations/Power Tears a nice symmetry. I liked giving her a soft waist with a little bit of a fold. Third drawing with "the full monty": pencil sketch, pen lines, erase pencil lines, paint, marker, ballpoint pen and lastly colored pencil. This round I drew her leaner and more muscular, and hers is my favorite face. Now she looks like Amanda Peet in the last Halloween costume she would ever wear. This incarnation is totally digital and as such I tried to make the image as crisp and clean as possible, an effect I am unable to achieve with paint. Created exclusively in Gimp using my Wacom drawing tablet-- though the Wacom is not a necessity, without it my hand would have cramped into a useless claw long ago. I decided against adding her Ocular Emanations this time when they covered her beautiful hair.
Of my three pieces the first and second are most likely to translate well into silk paintings which often have a loose and vivid watercolor look. The third has my favorite face and I like her cat, but I prefer it blue like it is in my second and fourth piece. Often when I am struck with an artistic image I will explore it in a single medium until worked out of my system. This time I chose to experiment with working through a theme in various mediums and exploring new looks for the same art. I am not finished with Medusa quite yet, just as I am sure she's not finished with me. RIT DYE Big roll of wool, a stack of powder Rit dye packs, a bottle of vinegar, plastic bowls, measuring spoons, a scale and a microwave. It's just like Breaking Bad! The Rit company apparently expects us to be dyeing pounds of fabric at a time, so I had to adjust all of my measurements for the small amounts of wool I was dealing with. For one pound of wool I would have to add one cup of vinegar and one packet of powder dye. In reality I only needed half an ounce of wool per color. Simple arithmetic to scale down my ratios equally: 1 lb = 16 oz, 1/2 oz of wool is 1/32 of a pound. 1 cup of vinegar divided by 32 = 1 1/2 tsp 1 packet of dye, 31.9 g divided by 32 = 1 gram Using my scale I believe I was able to get a pretty accurate measure of half an ounce for the wool, however it turns out the scale isn't sensitive enough for a measure as tiny as one gram, so I used a quarter teaspoon of dye. Honestly I think a quarter teaspoon is more than a gram, maybe even two grams, which is why my colors came out very rich. I didn't have any specific colors I needed going into this, so I don't mind, but I think I will find a more sensitive scale when I want color precision. The main reason I was diligent about measuring and taking notes is to have a record and the ability to re-create a color I really like. Alrightey. Two cups of clean, warm water in a plastic container. (Two cups was enough to submerge the wool, that's all.) I added the vinegar and dye and swirled it around until dye had dissolved. Separately I had soaked each tuft of wool in clean water and gently squeezed out the excess. Apparently pre-wetting the material facilitates an even absorption of dye. Damp wool put in dye bath and swirled around a bit with a plastic straw. In a small, 700 watt microwave, I heat my concoction for one minute. The water is warm (I should have brought my heat gun) and I gently swirl the mixture. I am careful not to agitate my wool too much because I don't want it to felt, which is a process by which the wool mats together and is no longer fluffy. I microwaved for another three minutes. When taken out I can see that it had been boiling very gently-- so far so good. Since it has reached the low boil I put my container outside so it can cool in its dye bath. (This is as good a time as any to write that the smell of hot vinegar and wool is pretty pervasive and not very pleasant. It dissipates fairly quickly, just not quickly enough for me.) Forty minutes or so later my mixes have cooled and I can see the water is no longer brightly colored because it has been absorbed into my wool. Rinsed in cold water. I gently squeeze out excess water, then take a dark towel and wrap around my wool to press out as much moisture as possible. Last step is to lay my wool on my ingenious drying rack, a window screen on a upturned footstool. With orange I experimented by dropping color crystals on top of the wool in its dye bath and only mixing gently, to create a mottled effect. Kool-Aid This has been my first time dyeing with Kool-Aid and I am thrilled with my results, using Lemon-Lime flavor for green dye, Blue-Raspberry Lemonade for blue and Pink Lemonade for light pink. The internet is already bursting with instructions for dyeing wool using this fruity drink mix so I'll just mention a few of my observations: I didn't need to use vinegar so the kitchen smells much nicer compared to dyeing with Rit. My wool appeared to absorb the color almost right away-- with Rit my water didn’t turn clear until the mix had cooled, but with Kool-Aid (especially the green) only a few minutes after heating my water was clear. Regardless of how quickly the dye saturated into my wool I left it outside until it had cooled before rinsing. The little pieces of wool were from the yellow and purple Rit batch, and I overdyed them with the blue Kool-Aid. It made a really nice shade of green over my yellow, the purple wool barely changed. Cost comparison (similar shades) Rit Teal powder dye, at $5.33 for a box comes to $4.73/oz
Kool-Aid blue flavors have more powder than most of the other varieties, costs .25 cents for .22 oz, making it $1.13/oz Tulip turquoise powder dye is $2.77, making it $1.57/oz (so what if I haven't used it yet) Obviously, if Rit goes on sale, or you have a coupon, or snag it as a cheap add-on item from Amazon, and then its cost/oz drops and it comes closer in value to other dyes. At the end of the day Rit will dye many different fabrics and has an established track record for remaining color fast and permanent. The Kool-Aid colors supposedly won't bleed out when you wash the wool, but I have no idea if the colors will fade with time. I am very happy with both dye processes and my vivid color results, but if I had to choose one as my favorite for wool it would be the Kool-Aid method-- my Rit colors are so bawdy and I prefer the light, clean, pure colors achieved with Kool-Aid. It seems like mastering bright colors is the easy part, and I hope to expand my palette with a greater variety of pastels and complex, muted shades. |
Categories
All
Archives
April 2018
|